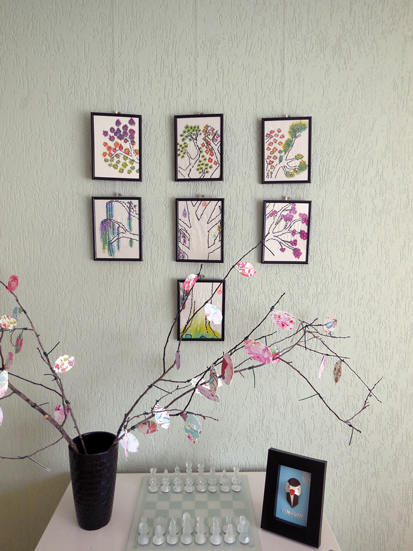
This project took me a loong looooong time to finish and an even longer time to get it up the wall. I gave you a sneak preview in this post, and since that post it took me until now to get it hanging! It’s time to show you in full:
My embroidery-slash-coloring tree project!
This was a very fun project, since I used a few different techniques than I usually would. I’m always open to new things like that.
There were however some difficulties finding the right size frames (it was a nightmare) and finding a way to hang them all on the wall without having to drill 7 holes.
If I were to do this again, I would certainly get my frames first and then cutting out the size I need.
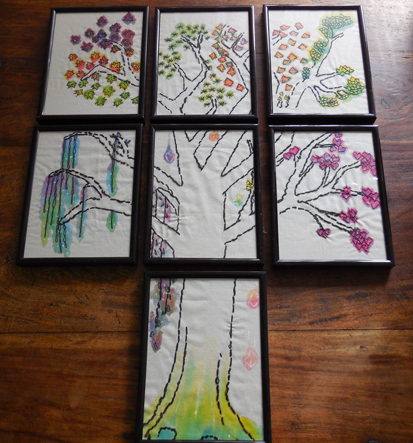
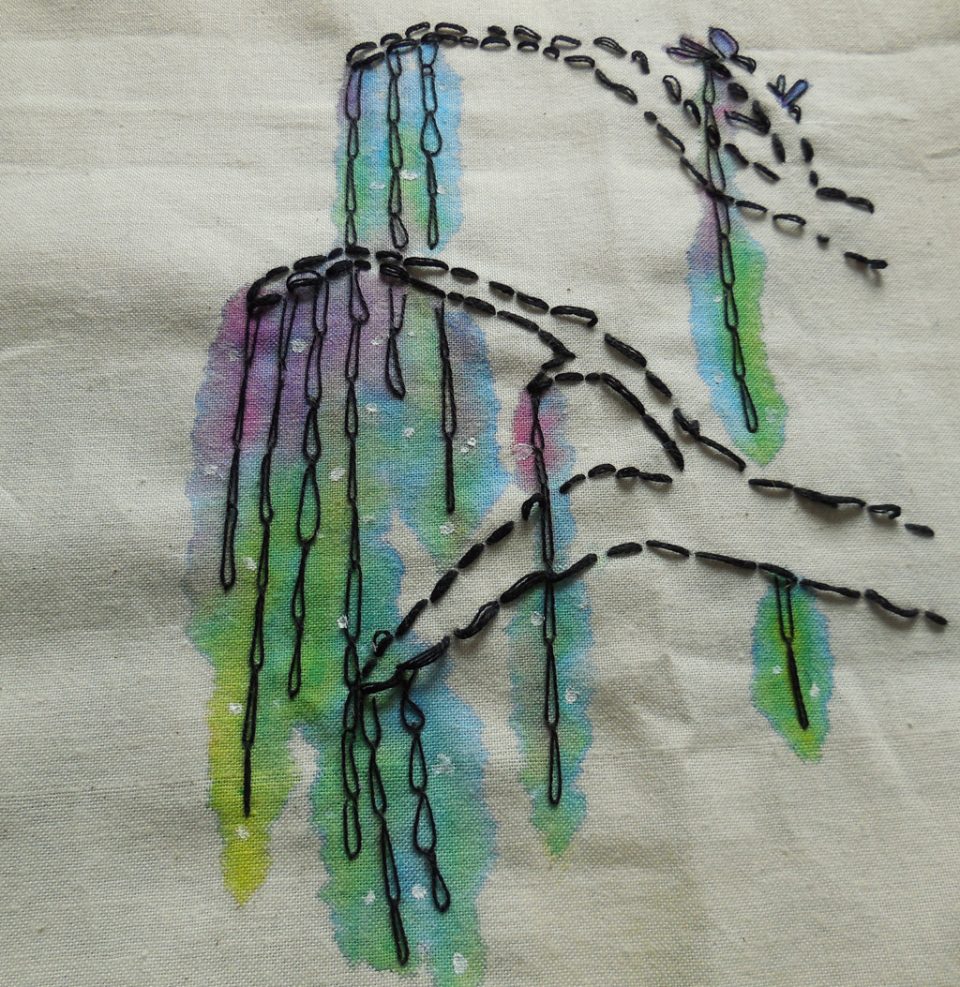
For the embroidery I drew a tree on checkered paper and sketched where and how I wanted the leafs to be. I chose for different leafs in every different section, as a way to get as much color and variety in there. I traced the tree outline with paper and embroidered the tree over that with a backstitch. The leafs I freehanded, since it was all too small to trace. For most of the leafs I chose for open and/or closed chain stitches and this worked very well.
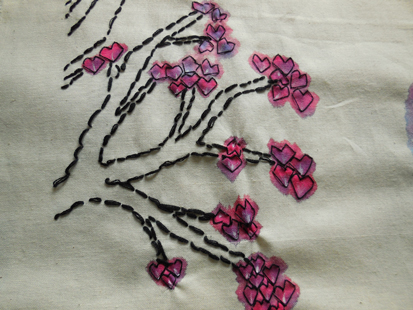
As for the coloring; I only used three different colored inks. It was quite fun, since you can get any color you like with this. The coloring process was very relaxing and fun. I had no plan for the colors, but I thought a heartshaped leaf should be pink. 🙂
I really like the overall outcome and the process even more. This is something I will definitely do again some day! In the upcoming week I will write a full ‘How to’, so you can recreate the process 🙂
Happy crafting!
Discover more from A Spoonful of Yarn
Subscribe to get the latest posts to your email.