Edit: here is part two!
Voor de nederlandse versie klik hier
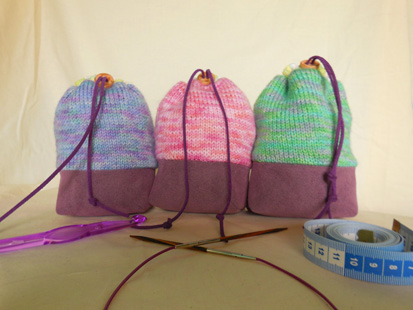
Last Saturday I’ve shared my Mini skein wonders with you, and today I’m going to show you how to make them. If you have read the last post, then you’ve also read that I have cut the tutorial in two parts, because it is quite picture heavy. So today you can start knitting the first part!
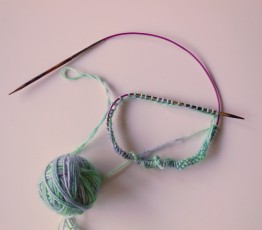
Notions:
-yarn in any color you like, suitable for 3 mm(no. 2 needles), approx. 45 meters(50 yards)
-3 mm(no. 2 (US)) circular needles. These need to be at least 40 cm(16 inch) long in total. (OR straight knitting needles if you don’t feel comfortable working in the round)
– A darning needle
– Steam iron, some pins, and something soft to stick ‘m in for blocking
– A cup of whatever you fancy, and a good mood 🙂
Gauge (in stockinette stitch): 10 x 10 cm(4 x 4 inch) = 27 stitches, 40 rows
Stitches used:
Plain stockinette stitch in the round = knit all rows. (Or if you are using straight knitting needles=knit one row, purl one row.)
finished measurements (after blocking): 10 cm(4 inch) high and 14 cm(5 1/2 inch) wide
If you are ready, lets begin!
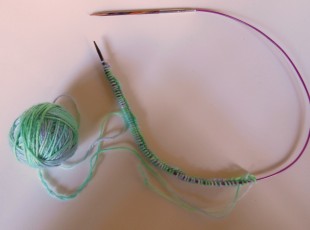
Cast on 74 stitches, and slide those stitches to you left needle.
Pull your working yarn, and your yarn end tight to create a small circle. (if your working yarn comes from the right, you are doing a good job) Make sure all your stitches are pointing inwards. With your right needle, knit into the first stitch to close the round. Pull really tight so you don’t get a gap later on, and continue knitting.
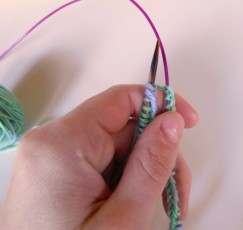
Keep going until the stitches on your left needle are beginning to feel tight (this is still the first round).
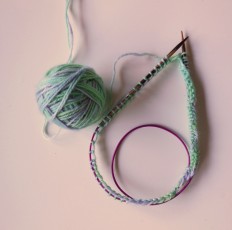
Stop knitting, and pull out your right needle. Slide the stitches onto your left needle, and continue working in the round. Make sure you pull the first stitch after this step tight, so you don’t get stitches that are too loose.
Continue in this manner until you have worked 40 rows of stockinette stitch. Bind off your stitches loosely, and slide off the last stitch.
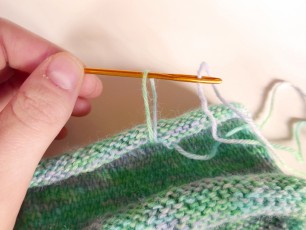
Thread the yarn through your darning needle, and pull through the last loop.

Now pull the yarn through the first stitch on your left.
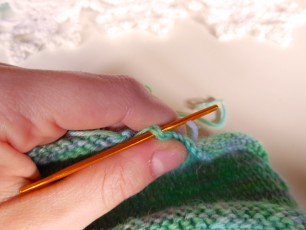
Pull it through the first stitch on your right, and lastly work the tread through some of the top stitches for a nice finish.
This way all stitches look the same.
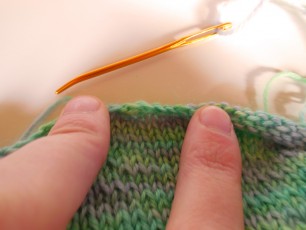
That’s it! Easy right?
After you’ve followed all these steps, you need to block your piece.
How to block your knit:
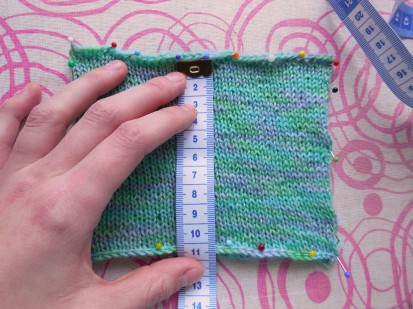
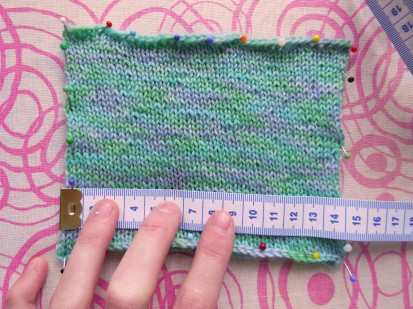
Use a ironing board, a mattress, anything you can stick pins in really(I used my ironing board for this). Lay your knit flat on your ironing board and begin pinning one side. Stretch the other side to make it as wide as it needs to be, in this case 14 cm(5 1/2 inch), and pin that side as well. Now do the same to the top and the bottom, and pin those down to the correct size (10 cm(4 inch)). Now with a steam iron (or a regular iron and a damp cloth), and hover over your knit piece until it’s all damp. Let it sit there until it’s completely dry.
The dimensions after blocking should be 10 cm (4 inch) high, and 14 cm (5 1/2 inch) wide. It is important to make sure your knit is the correct size, because you will use these dimensions to do the rest of the tutorial. Also it’s much easier to work with, because you will eliminate the “curling” ends this way.
For the straight knitters: After you have bind off your piece, leave a long tail. Fold your knit in half width wise, and sew the sides together with the long tail. Your piece should be blocked at the dimensions that are given above.
If you have any problems or questions, don’t hesitate to let me know by emailing to aspoonfulofyarn@hotmail.com, leave a message in the comment section or use the contact form.
Happy knitting, and I will see you later when I post the second part of the tutorial.
copyright
All patterns are for unlimited personal use. Do not reproduce, sell or publish (parts of) the patterns. Patterns may not be copied in any way (print or digitally), in part or in full, except for personal use. Items may be sold that are made from this pattern as long as the designer is credited.
1 Comment
Comments are closed.