Voor de Nederlandse versie klik hier!
Hurray for free tutorial day! 🙂
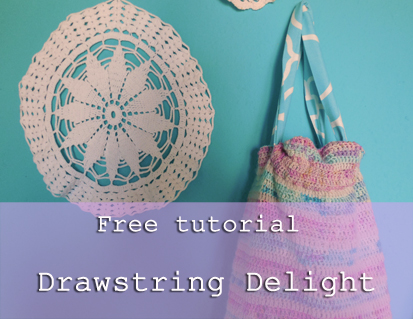
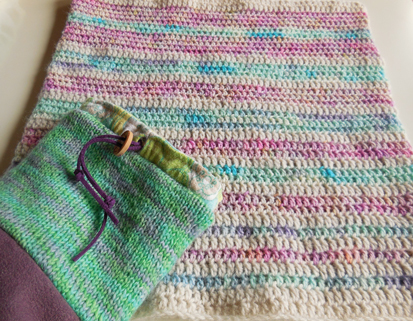
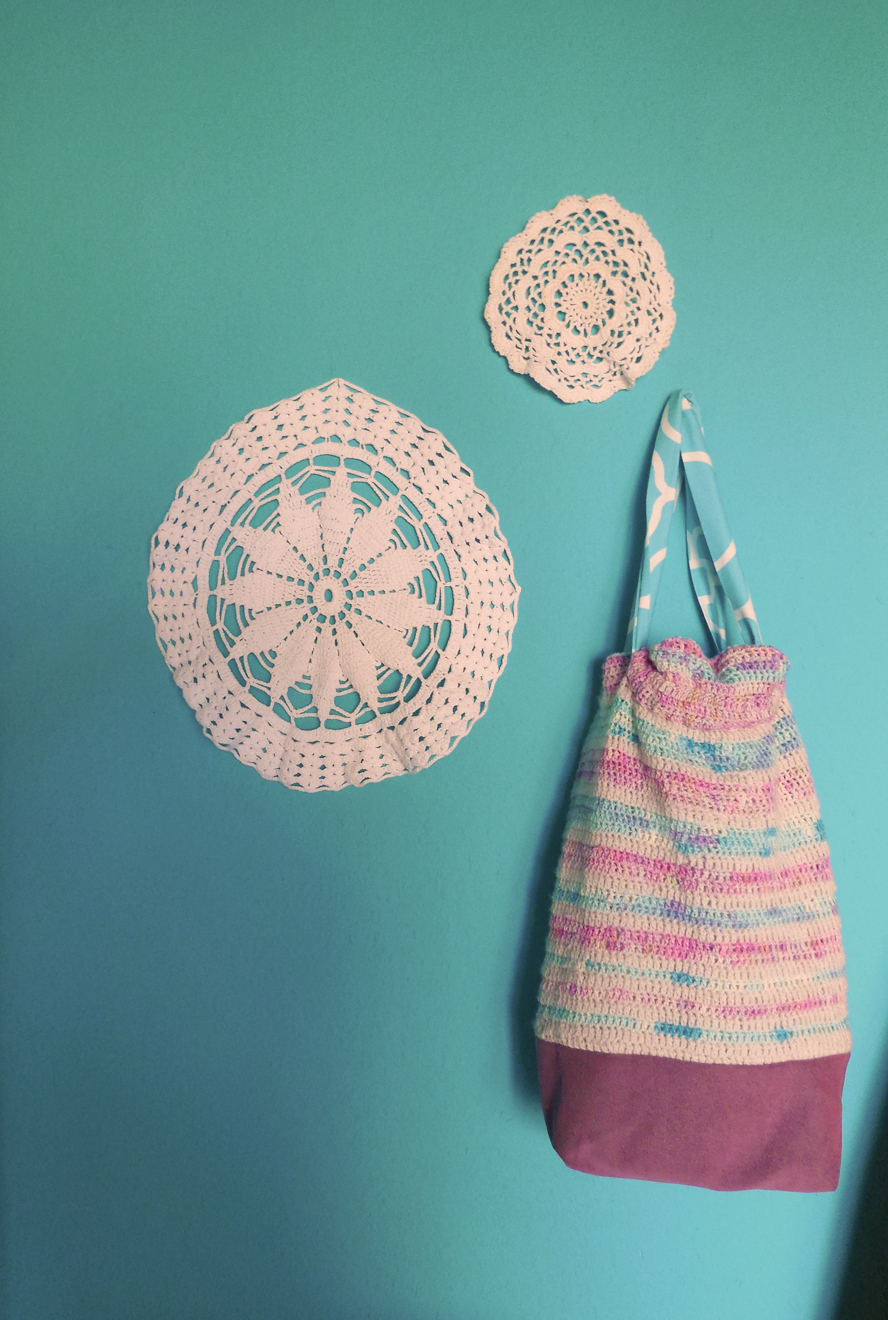
This time, as promised, I’m doing the tutorial for the Drawstring Delight. I thought it would only be fair to do one, because it is very similar to the mini skein wonders, but bigger and it uses crochet instead of knitting. It can hold an entire crochet or knitting project, and can be carried along to wherever you want.
What you need:
For the crochet part:
– 3 mm crochet hook ( and a 4 mm crochet hook for the foundation chain).
– 3 types of yarn; 1 in pink color, 1 in blue color and 1 in neutral color. I used astashaddict sock yarn (she doesn’t dye anymore) for the pink, my first reggia sock yarn for the blue and some acrylic yarn for the neutral color. This must all be suited for a 3 mm crochet hook. Of course you can use as many colors as you like!
– A darning needle for weaving in the ends.
– thread clippers.
For the sewing part:
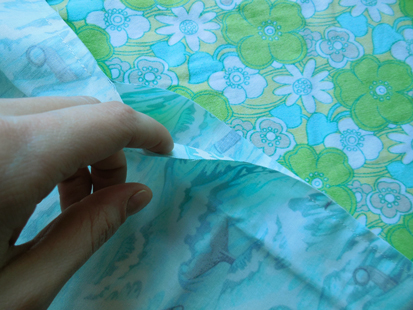
– 2 piece of faux suede; 31 cm (12 1/5 inch) wide and 15 cm (5 9/10 inch) high.
– 2 pieces of cotton for the lining; 45 cm (17 7/10 inch) high and 31 cm (12 1/5 inch) wide.
– 1 strip of cotton for the drawstring part; 120 cm (47 1/5 inch) wide and 5 cm (2 inch) high.
– standard sewing supplies.
All seams are included in the dimensions of the fabric pieces and all seams are 5 mm (1/4 inch).
And of course you need a can do attitude and lots of fun 🙂
Gauge 10×10 cm (4×4 inch) : 23 stitches and 14 rows using double crochet (US) stitches
Special techniques:
The awesome invisible join method for changing colors, as seen at winks blog.
The standing Double Crochet stitch; Begin with a loop on your hook, yarn over, insert into first stitch and finish as normal.
Lets get crackin’ 🙂
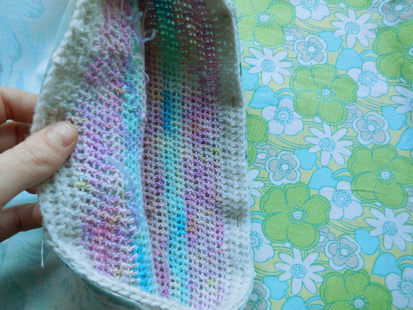
First we need to make the crochet piece which will measure 30 x 30 cm (11 4/5 inch) when laid flat.
With neutral color: make a foundation chain of 120 + 2 (with a 4 mm hook), turn.
Make 120 double crochet stitches (DC), starting in the third chain from hook.
Join with a slip stitch in the top of the first DC that you made.
Chain 2 and work DC around. Close the bottom of the chain with the yarn end you have left.

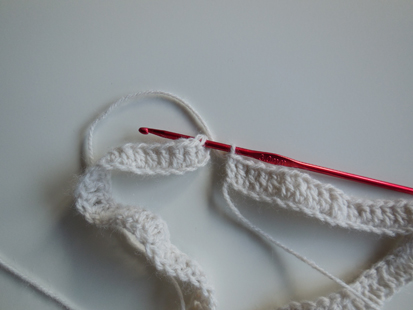
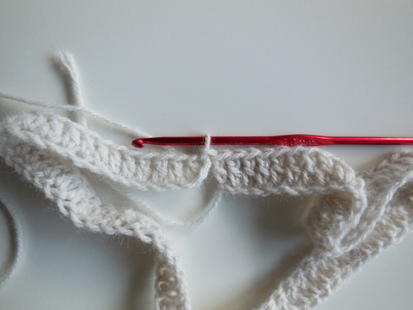
Now for the color joining:
1. Cut off the yarn, leaving a tail.
2. With a darning needle; pull the yarn through the front of the first stitch (not the chain 2).
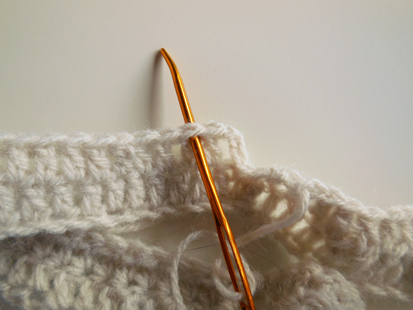
3. Go back into the front of the last stitch that you made.
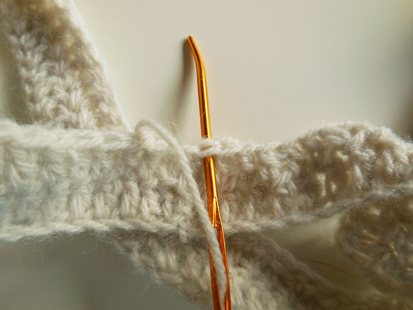
4. Pull through the back of a stitch to fasten it.
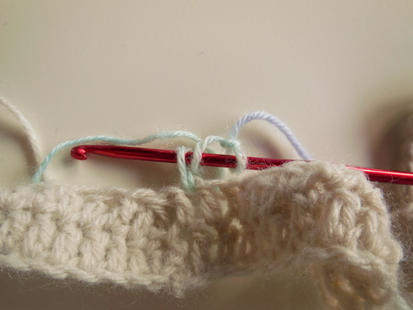
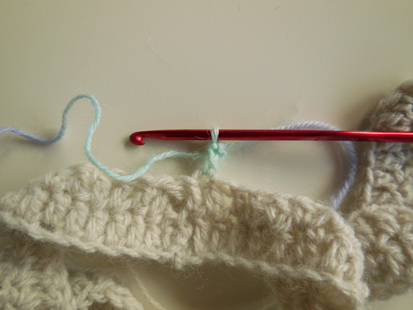
5. Now with a new color ( I used blue); Make a standing stitch and do DC stitches around. It doesn’t matter where you begin, as long as your first stitch isn’t made into the “joined” stitch. I alternated between one stitch before the “joined” stitch and one stitch after the “joined” stitch.
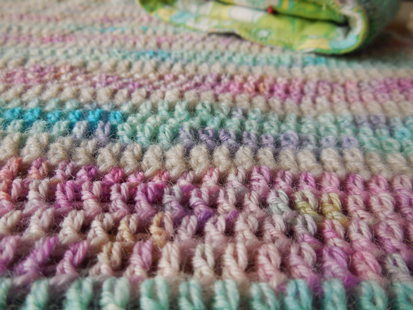
Repeat step 1 to 5 with every new row to get an even color change. Of course you can use any joining method you prefer, but I find this method to be very neat and doesn’t cause that much more work. If you want to replicate these stripes, here is the scheme of color changes:
Neutral color: row 1, 2, 4, 6, 8, 11, 14, 17, 21, 25, 29, 40, 41
Blue color: row 3, 7, 12, 13, 18, 19, 20, 26, 27, 28, 34, 35
Pink color : row 5, 9, 10, 15, 16, 22, 23, 24, 30, 31, 32, 33, 36, 37, 38, 39
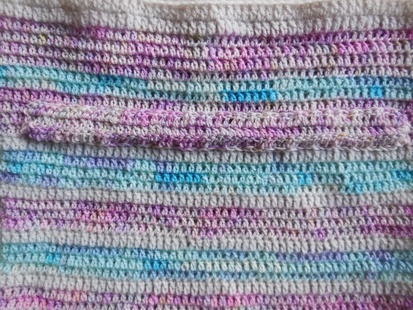
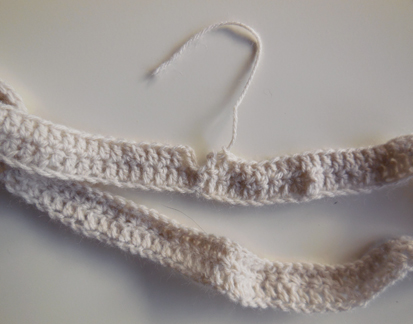
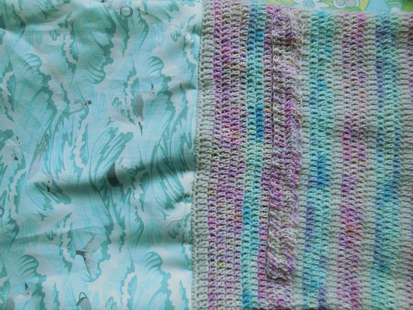
After you’ve done 41 rows of whatever color scheme you fancy, you need to make two bands for the drawstring part.
Chain 50 + 2. Make 50 DC starting in third chain from hook. Crochet 4 rows in a color you like. I did it in pink and placed it onto the second wide pink stripe from the top. Use a backstitch to sew the top and bottom of the band onto your crochet piece, leaving the sides open. Make sure it is sturdy so it can’t come loose later on.
Now onto the sewing! For helpful sewing tips and another tutorial for sewing a boxed bottom you can look here.
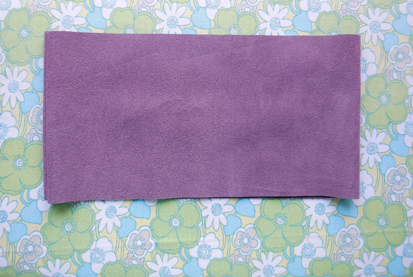
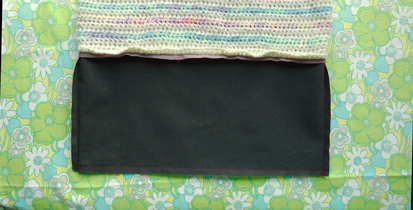
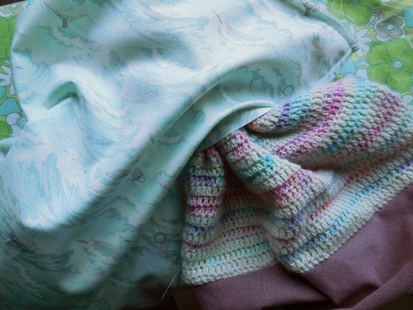
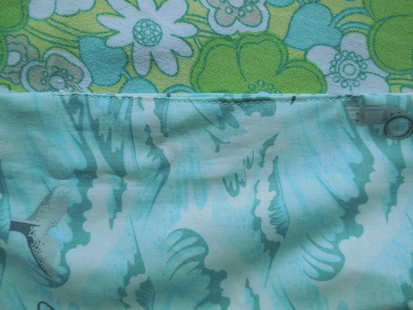
Take the two rectangles of faux suede and sew the side seams together (right sides of the fabric together). Press the seams open (always press seams open after sewing). This is now your bottom part.
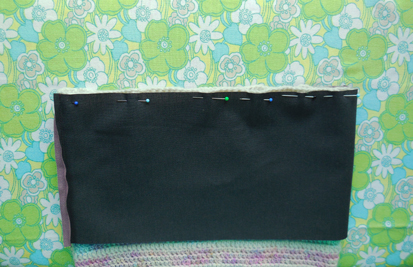
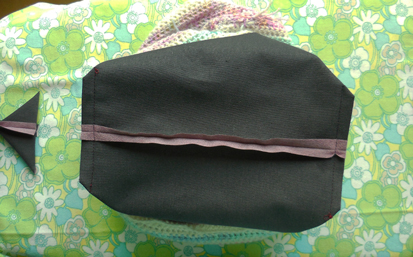
Take the crochet part and shove it into your bottom part (right sides together). Sew around.
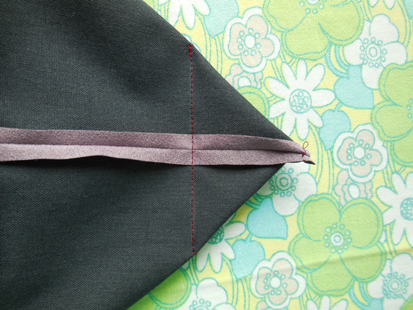
With right sides together; stitch the bottom seam.
lay the side seam onto the bottom seam like the picture, and measure 5 cm (2 inch) from the corners. Mark it and sew that line across. Do the same with the other side. (again; for a more detailed description see this post)
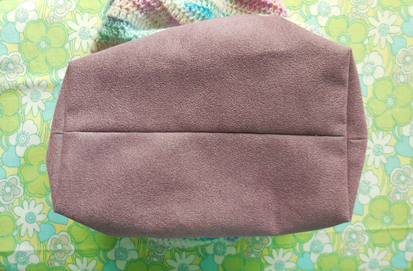
Clip the corners and turn the bag right side out.
Now it’s time for the lining!
Take the two lining pieces you’ve cut earlier from the dimensions given and lay them on top of each other with the right sides together. Pin the sides and bottom seam, leaving the top open. Also leave an opening of approx. 10 cm (4 inch) at one of the side seams. This is very important for a following step! Box the corners of the lining as you did in the previous step.
Now you need to sew the lining into the bag. This goes as following: Shove the bag into the lining with the right sides together. This might seem wrong, but trust me! Pin the top of the lining to the top of the bag and sew it together.
All you see is wrong sides, this is correct.
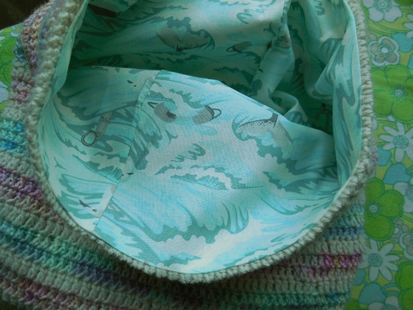
Pull the bag out of the lining through the opening in the lining you’ve created earlier.
This is how it looks when you are pulling the bag out.
Pull the bag all the way out.
You have the lining on one side and the bag on the other. Your seam is neat.
All there is left to do for the lining is close the hole that you’ve pulled the bag through. You can do this by hand, but I always use my machine, because it doesn’t bother me 🙂
And for the finishing touch; press the lining into the bag to make it look neat.
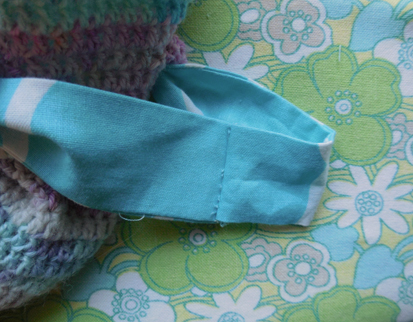
For the drawstring part; Take the strip you’ve cut from the dimensions given earlier and fold it in half right sides together. Sew the long seam at the raw edges, leaving the sides open.
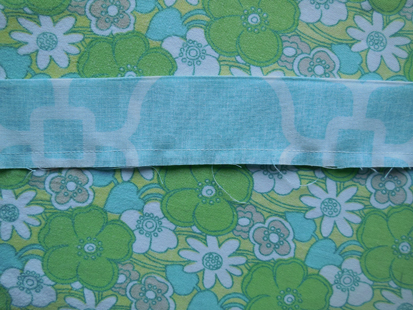
Turn the strip right side out and press neatly.
Pull the strip through the tunnels in the bag. Pin and sew the strip at the ends, making sure it doesn’t twist.
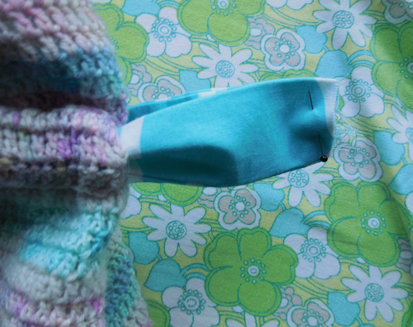
Now pin and sew the end again, but turn the raw ends of the seam inwards.

Now your end seams are neat and tidy. This is also called a French seam, but you don’t need to memorize that;)
You can hide the seam in one of the tunnels, or leave it just like that.
And you are done! Good for you ^^ Now you can admire your work, and more importantly, put it to good use 🙂
I hope you had fun with this tutorial! If you have any questions or remarks, don’t hesitate to ask!
Via email: aspoonfulofyarn@hotmail.com, via facebook or via the contact form.
I would also love to see your finished items using this tutorial. Of course you can show my via the above or tag me on instagram @xxkurisuxx 🙂
2 Comments
Comments are closed.
“she sells sea shells by the seashore” is an old tongue twister, like “peter Piper picked a peck of pickled peppers.”
Ohhh, did not know that! I’m not a native english speaker. Thank you ^^