How do you like Free Pattern Month? Next week it’s time to close off with a bang with a cool giveaway, so don’t forget to check back then!
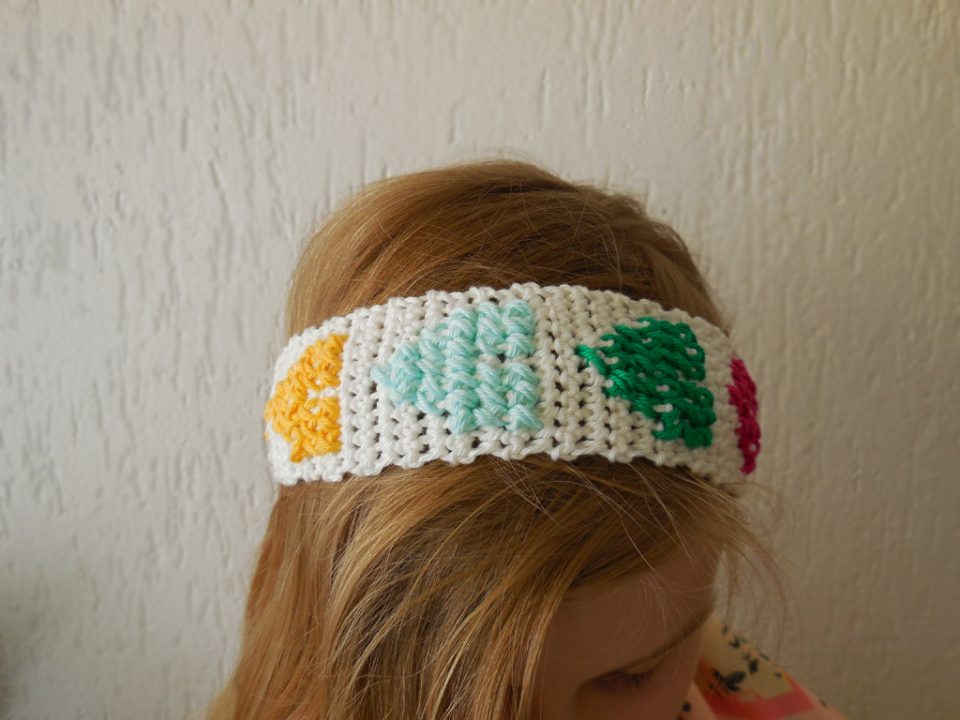
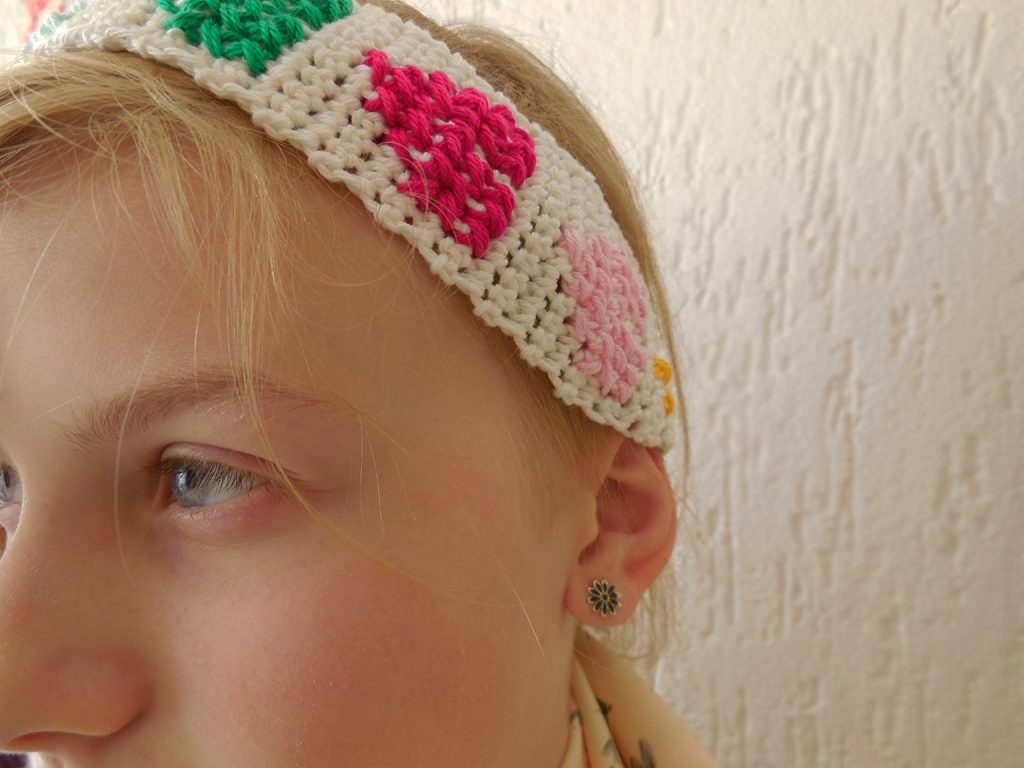
I like the occasional headband. They spruce up your hair in an instant. I also like happy colors, so this pattern was a no-brainer. I’ve read about cross stitching over crochet items, so I thought I could give it a go. Turns out, it’s super easy and the end result is so pretty! I came up with the stitch pattern myself; big and little hearts in different colors. Originally they were meant to be arrows, but that didn’t work out so well.
The pattern is pretty easy to crochet up. It only uses single crochet stitches (US terms) and a few chain stitches. As far as the cross stitching goes, the pictures speak for themselves 😉 The size can be adjusted with the end chain cords and is suitable for almost any adult sized head.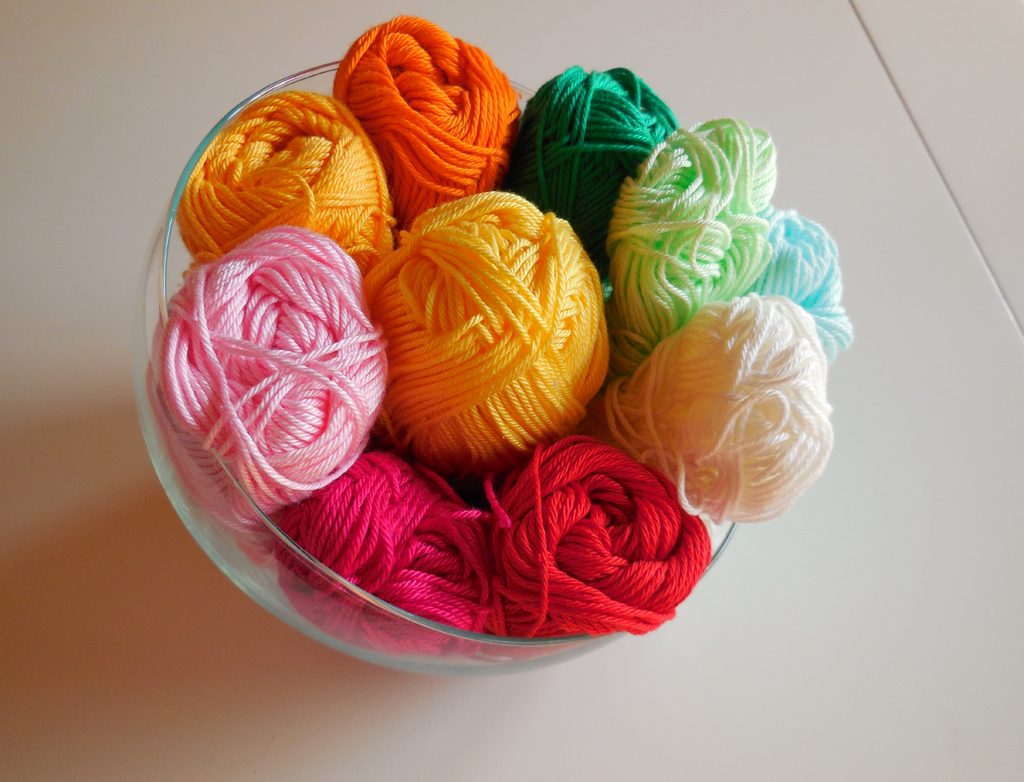
What you need
– 3 mm crochet hook
-White crochet cotton for 3 mm hook
-5 different colors crochet cotton for the cross stitching. I used phildar coton 3 for the white and the colored yarn.
-Darning needle for weaving in ends and cross stitching
-Thread clippers
Gauge and measurements
10×10 cm (4×4 inch) = 20 st and 20 rows.
Main part: 25 cm (9 4/5 inch) wide and 5 cm (2 inch) high
decrease part(s): 7,5 cm (3 inch) wide and 2 cm ( 4/5 inch) high
total headband width (without the chain ends): 40 cm (15 7/10 inch)
You can shorten or lengthen the decrease parts or make the chain ends shorter or longer to make it fit to your head.
Abbreviations
ch= chain
sc= single crochet
sc2tog= single crochet two together
stst= standing stitch
Techniques
Single crochet two together: insert hook in first stitch and draw up loop, insert crochet hook in second stitch and draw up loop, pull yarn through both loops, now the two stitches have become one stitch.
Standing stitch: Make a slip knot onto your hook, insert hook in first stitch and make a single crochet like you normally would.
Cross stitch:
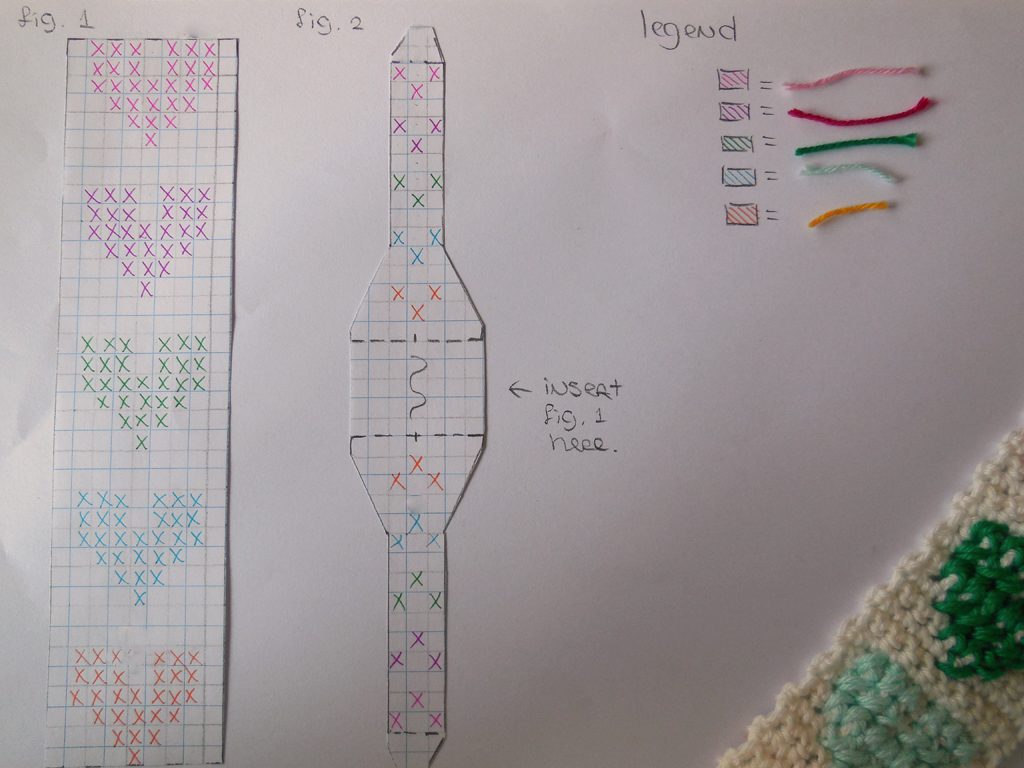
Cross stitches meet at the corners, so don’t leave room between them.
I worked the cross stitches with my yarn held double, for a more denser look, but you can do whatever you like.
On to the pattern!
For the crochet part of the headband
Ch 10 + 1.
1. In second stitch from hook; sc across. (10 sc made), ch 1, turn.
2. Repeat row 1 for 39 more rows, you will have 40 rows of sc in total.
3. sc2tog, sc to last two stitches, sc2tog. (8 stitches left)
4. sc across. (8 stitches)
5. Repeat row 3 (6 stitches left)
6. sc across. (6 stitches)
7. Repeat row 3 (4 stitches left)
8. sc across (4 stitches)
9. Repeat row 8 for 9 more rows. (4 stitches)
10. Repeat row 3 (2 stitches left)
11. Sc the last two stitches together, you are left with one stitch.
12. ch 35 and cut the yarn.
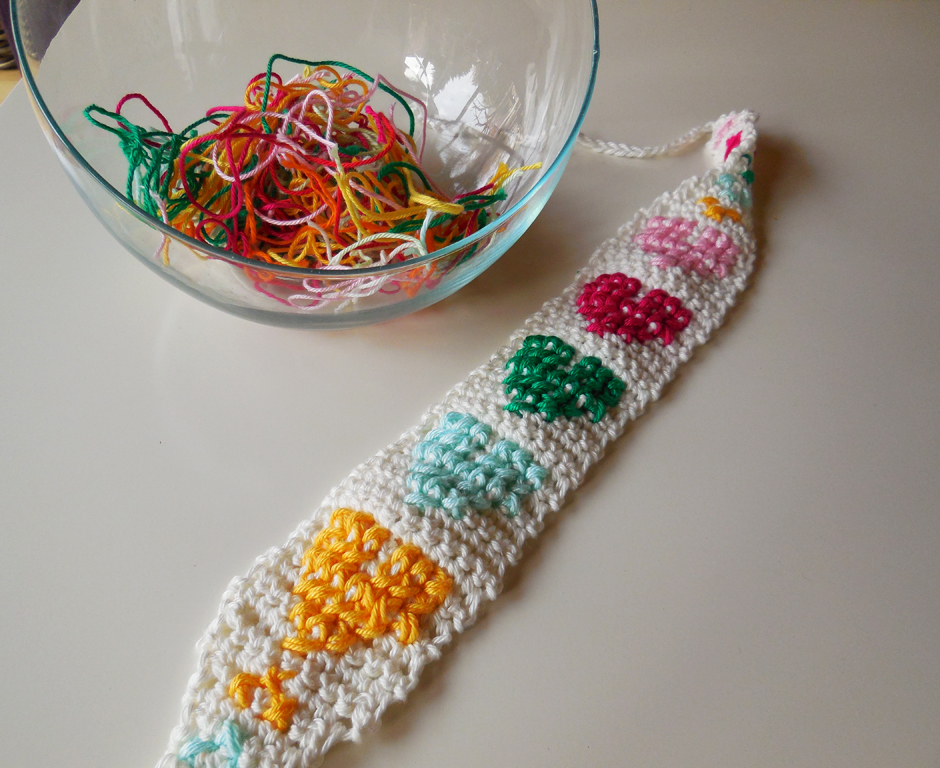
Now you have the first part done. It should look like the picture.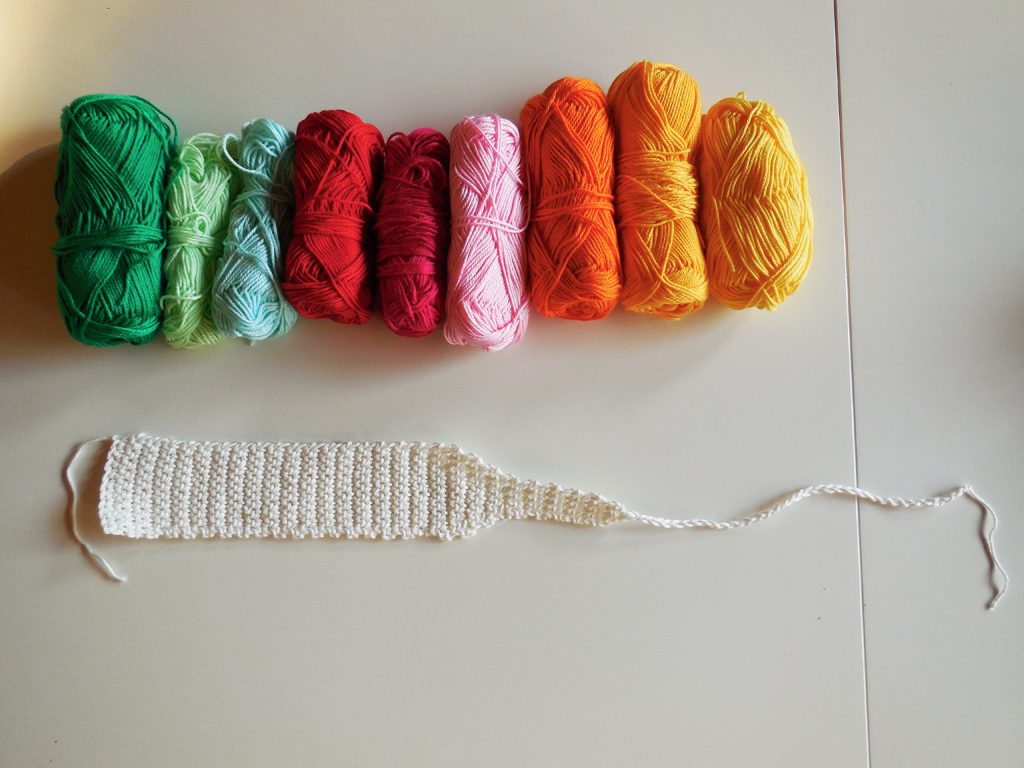
With a standing stitch; work rows 3 to 12 from the previous step on the other side of the headband.
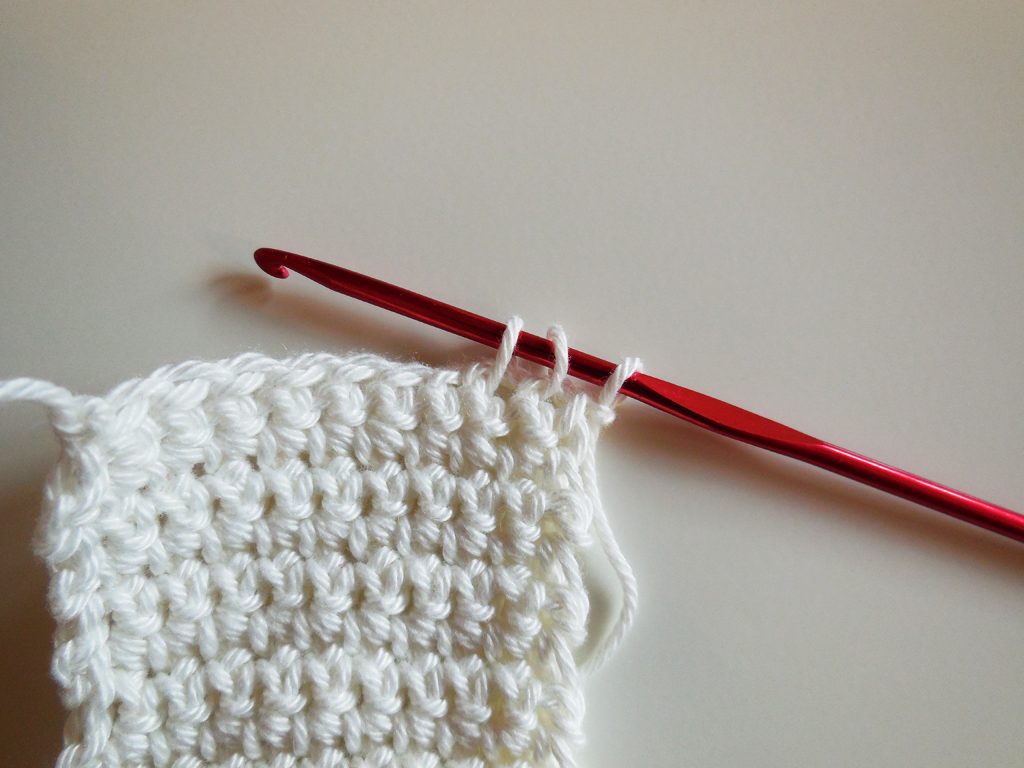
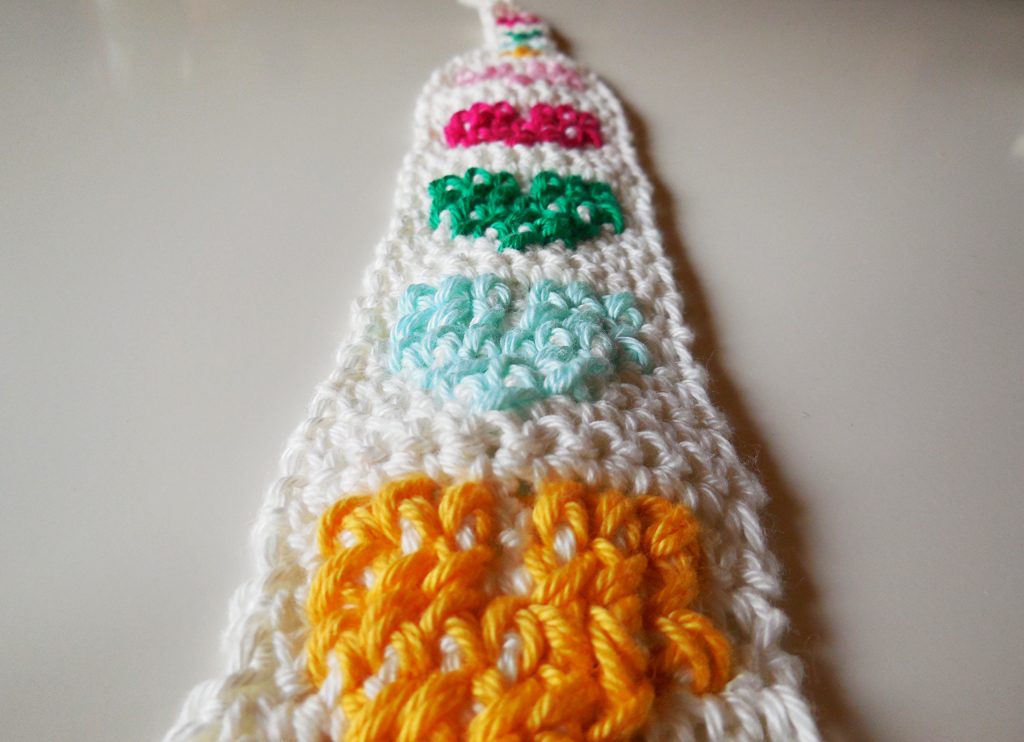
Your headband should now look like this.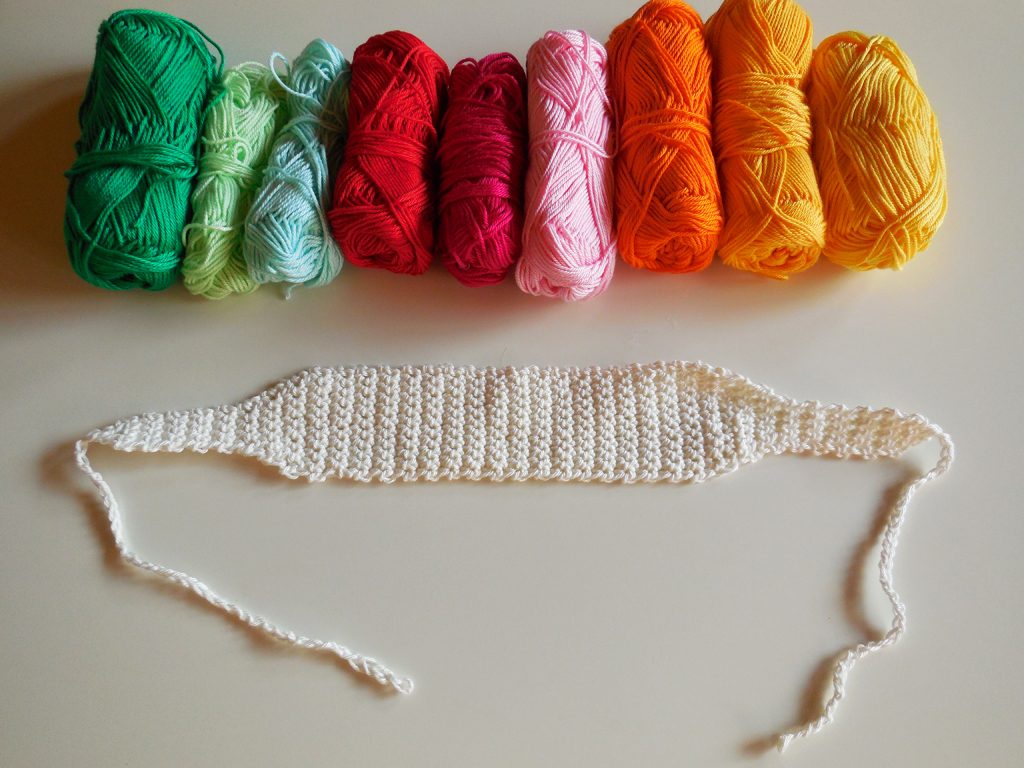
For the cross stitch part:
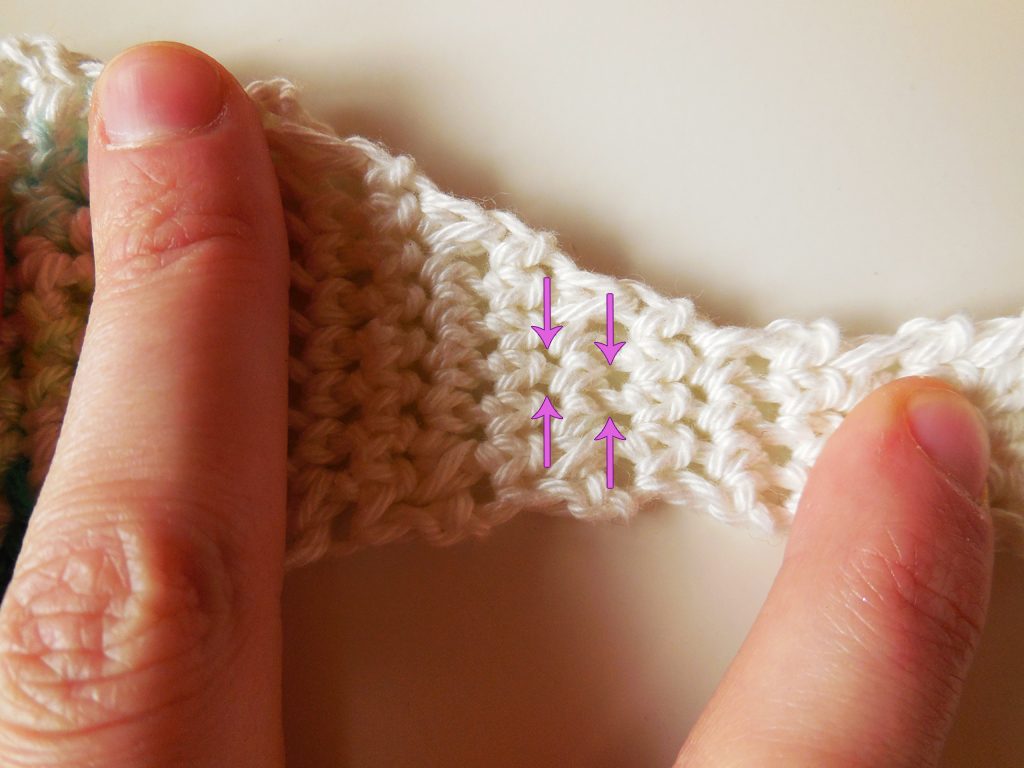
You make the cross stitches in between the crochet stitches. (See picture) In crochet the stitches shift a little as you can see, so be aware about that.
I did the cross stitches with my yarn held double, so it looked a bit denser.
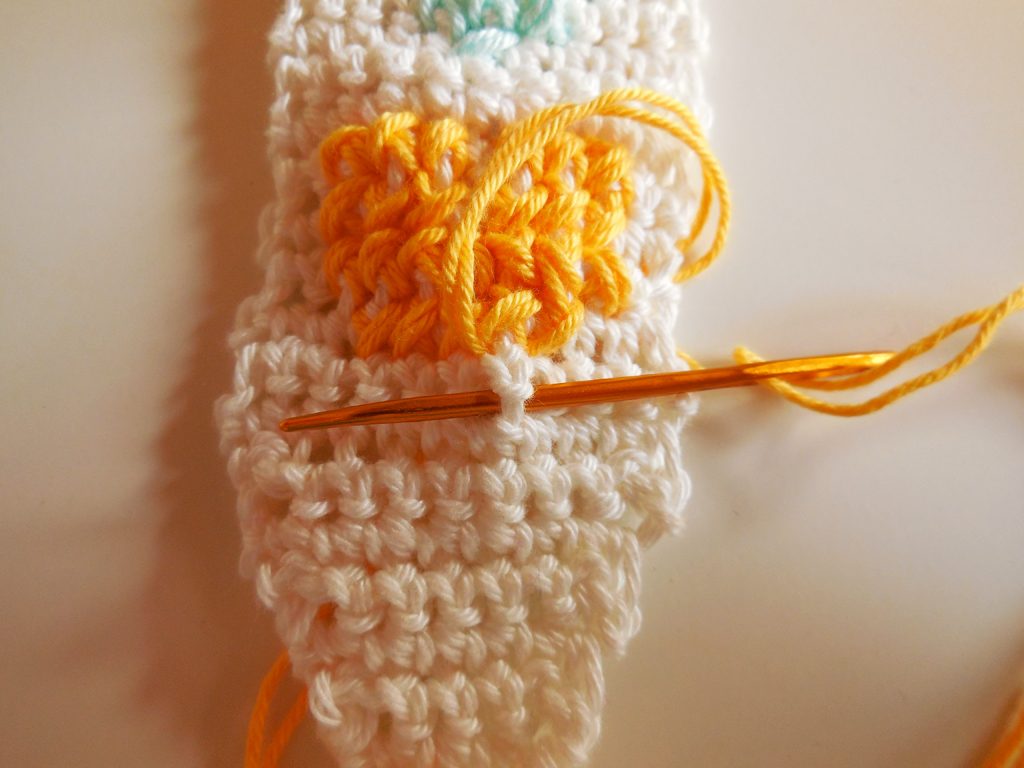
Go back up diagonally to your right. After that insert the needle in the second opening on your left. This is the beginning of a new cross stitch.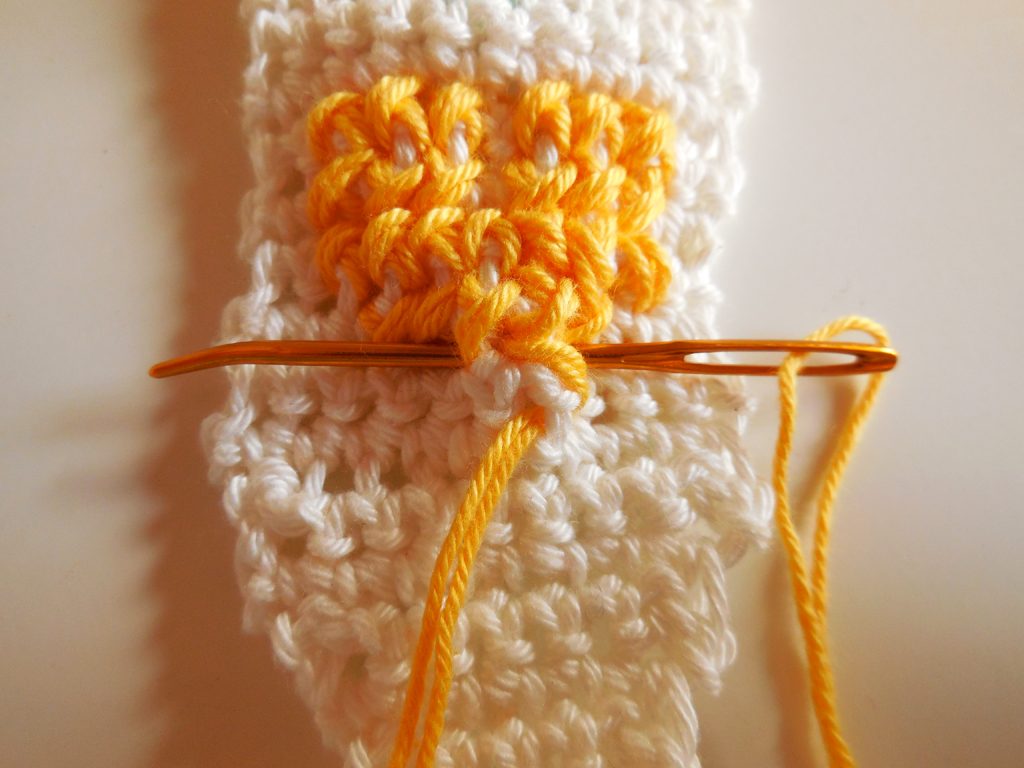
Repeat the last two steps above to make the cross stitches.
Stitch the cross stitch pattern like the picture or make your own pattern! Make sure to weave in ends as you go, or else it will be a complete mess in the back. I’m sure you don’t want that 😉
All patterns are for unlimited personal use. Do not reproduce, sell or publish (parts of) the patterns. Patterns may not be copied in any way (print or digitally), in part or in full, except for personal use. Items may be sold that are made from this pattern as long as the designer is credited.
3 Comments
Comments are closed.
Very pretty and colourful, thanks for sharing the pattern 🙂
That’s nice to hear patricia, you’re welcome 🙂