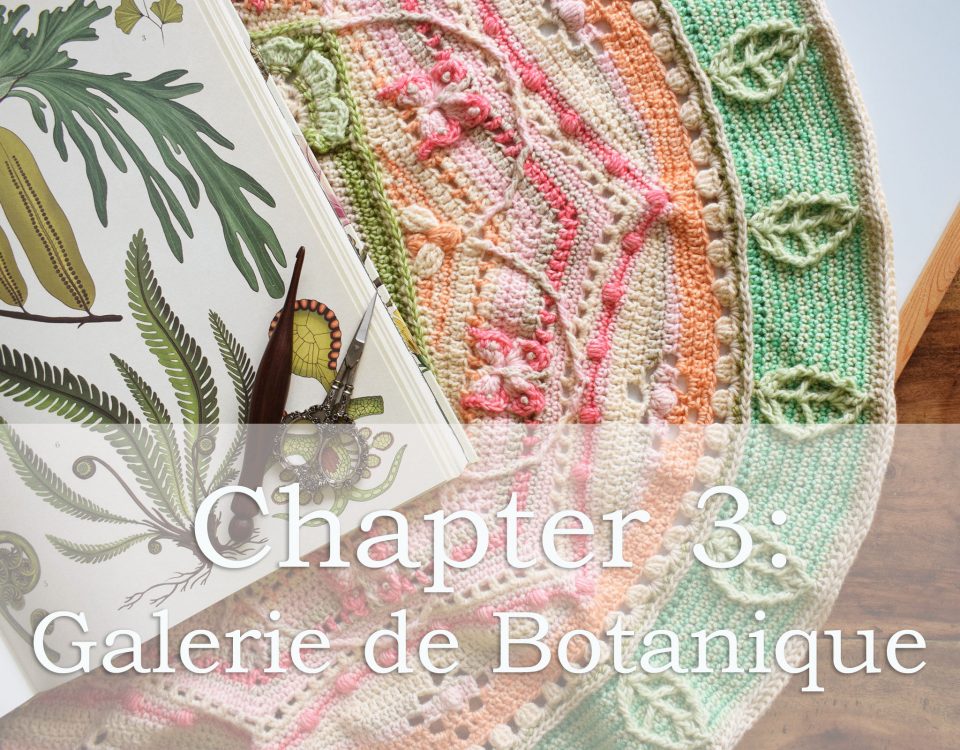
Welcome to the third blog post of the official 2020 Scheepjes CAL – d’Histoire Naturelle. I hope you enjoyed our visit to the Galerie d’Entomologie? During these two weeks we will visit the Galerie de Botanique <3 Below you will find more info regarding the inspiration for this part and some tutorial photos to help you in your crochet journey!
Welkom bij de derde blogpost van de officiële 2020 Scheepjes CAL – d’Histoire Naturelle. Ik hoop dat je van ons bezoek aan de Galerie d’Entomologie hebt genoten? Gedurende de aankomende twee weken bezoeken we de Galerie de Botanique <3 Hieronder vind je wat meer info over de inspiratie voor dit deel en een aantal tutorial foto’s om je te helpen in je haakavontuur!

Get the full CAL PDF with added benefits! / Krijg de volledige CAL PDF met leuke extra’s!
You can now get a full PDF with ALL parts into one + added benefits! Etsy I Ravelry
Read more about this here.
Je kunt nu ook een volledige PDF krijgen met ALLE delen in één + leuke extra’s Etsy I Ravelry
Lees er hier meer over.
Links
- Main CAL page / CAL Hoofdpagina
- Share your work or get pattern support through the Scheepjes Facebook group / Deel je voortgang of stel vragen over het patroon via de Scheepjes Facebook groep
- Tips & Tricks
- The PDF pattern in English and other languages / Het PDF patroon (NL)
- CAL video chapter 3 UK ENG / CAL video Hoofdstuk 3 NL
- Interview videos with the author of All The Light We Cannot See / Interview videos met de auteur van Als Je Het Licht Niet Kunt Zien
The Story / Het Verhaal
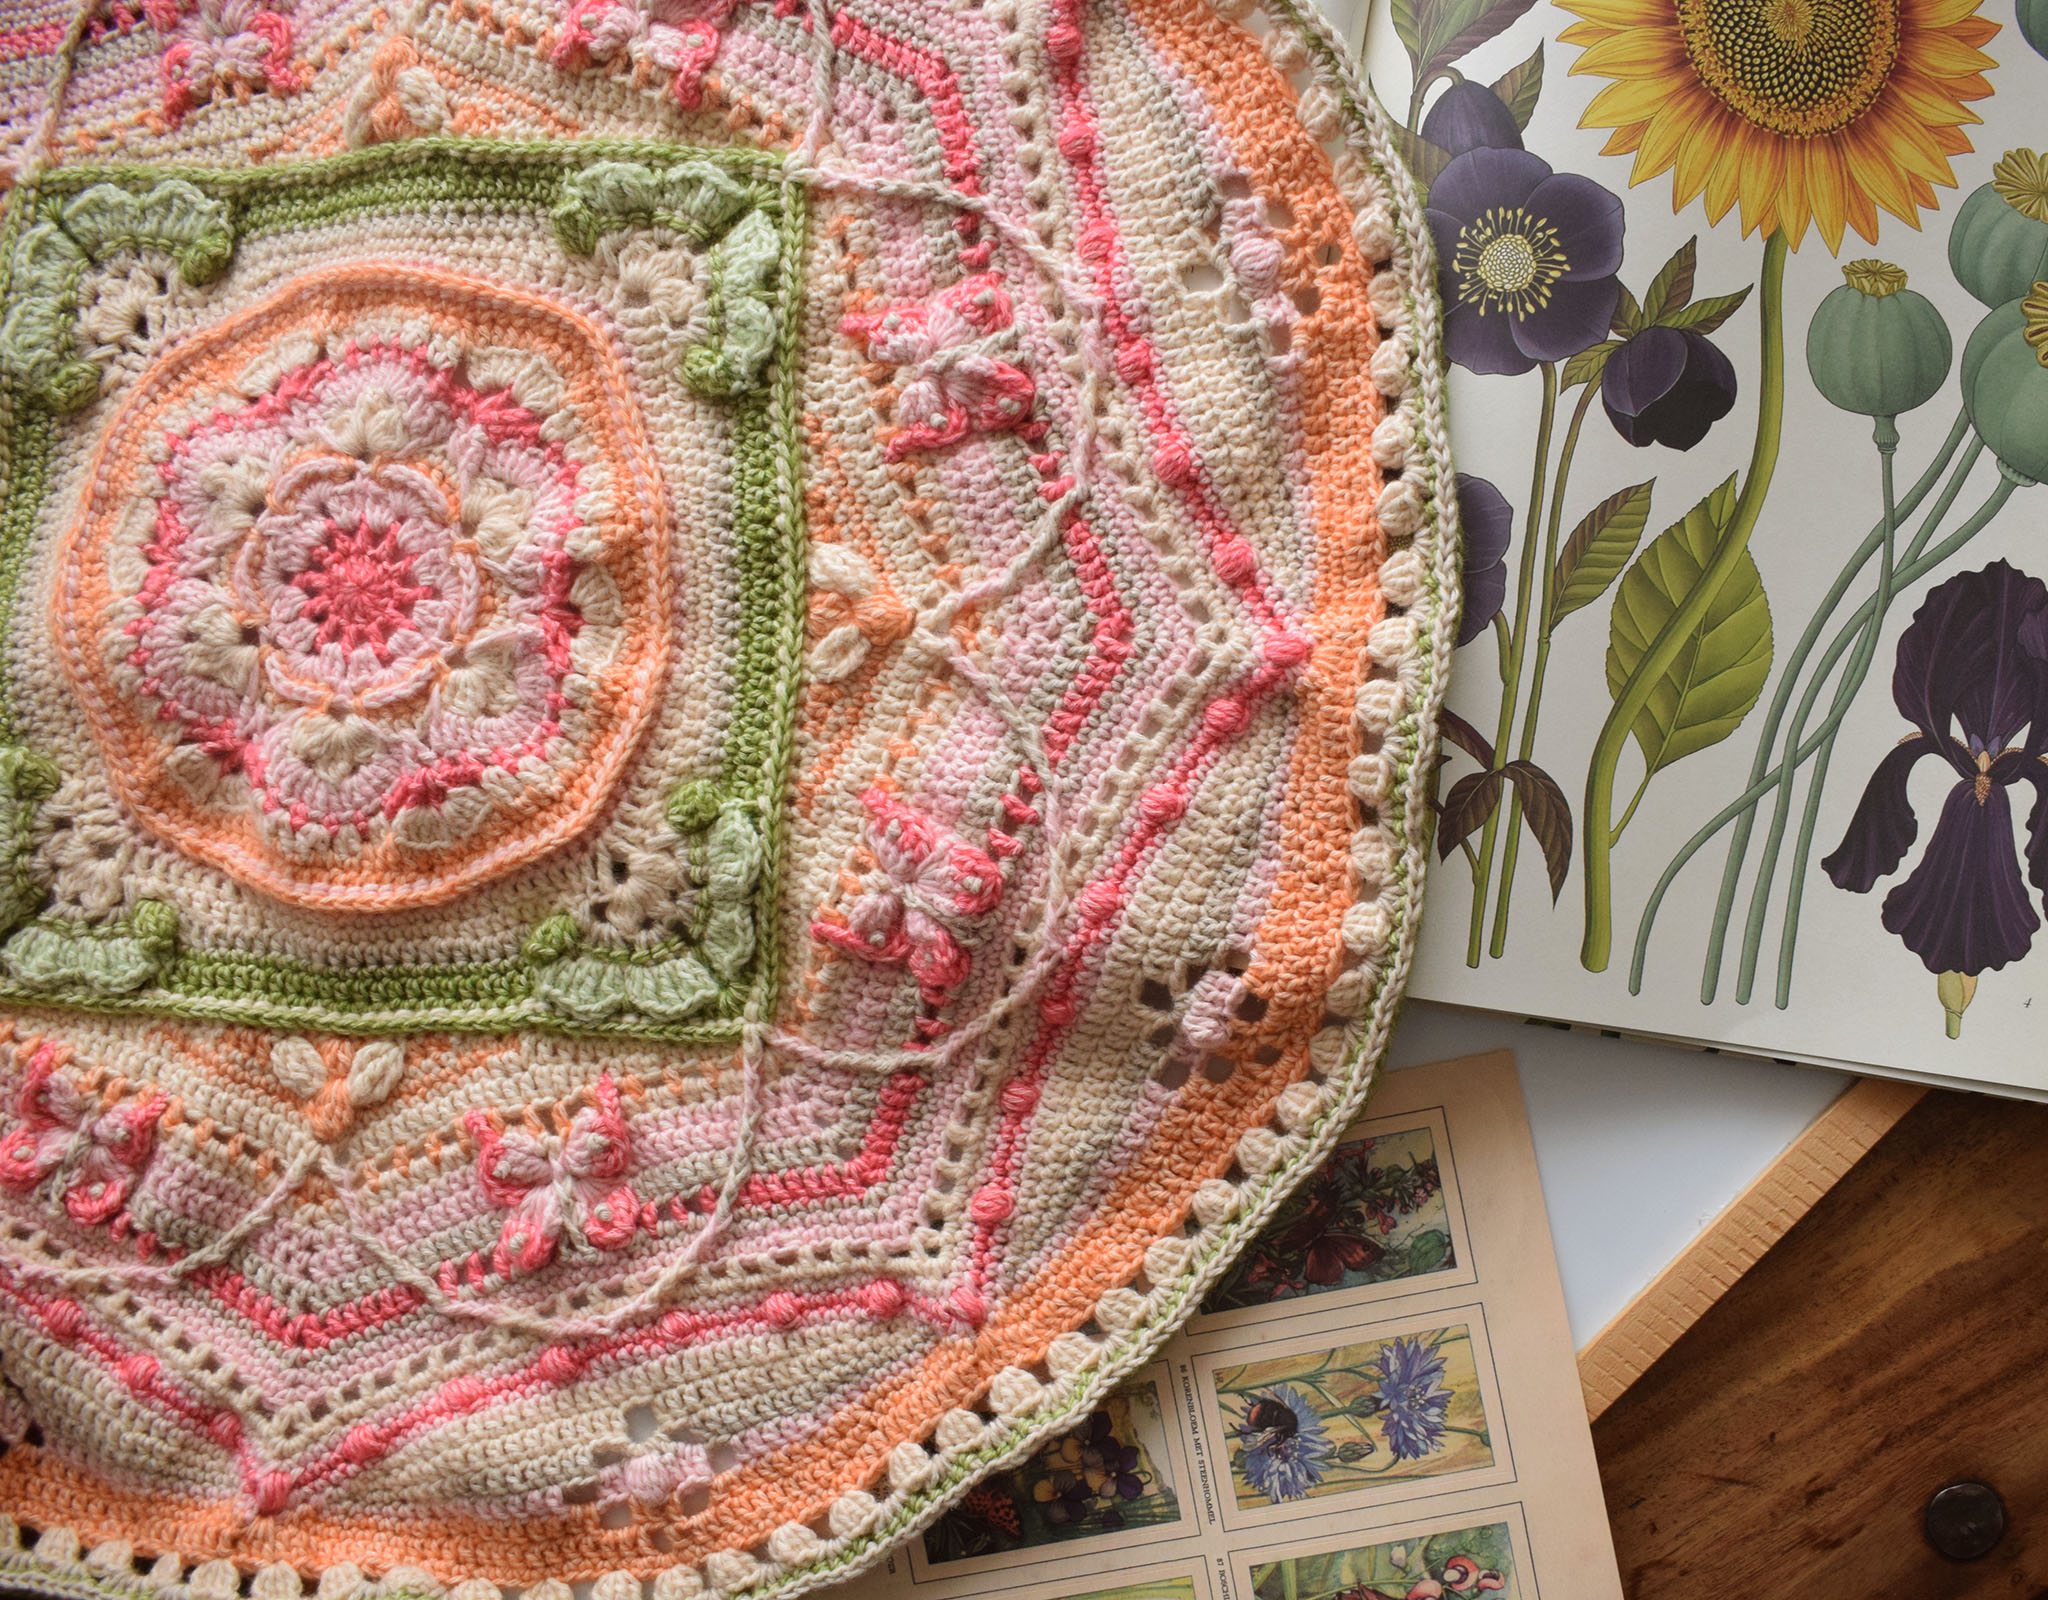
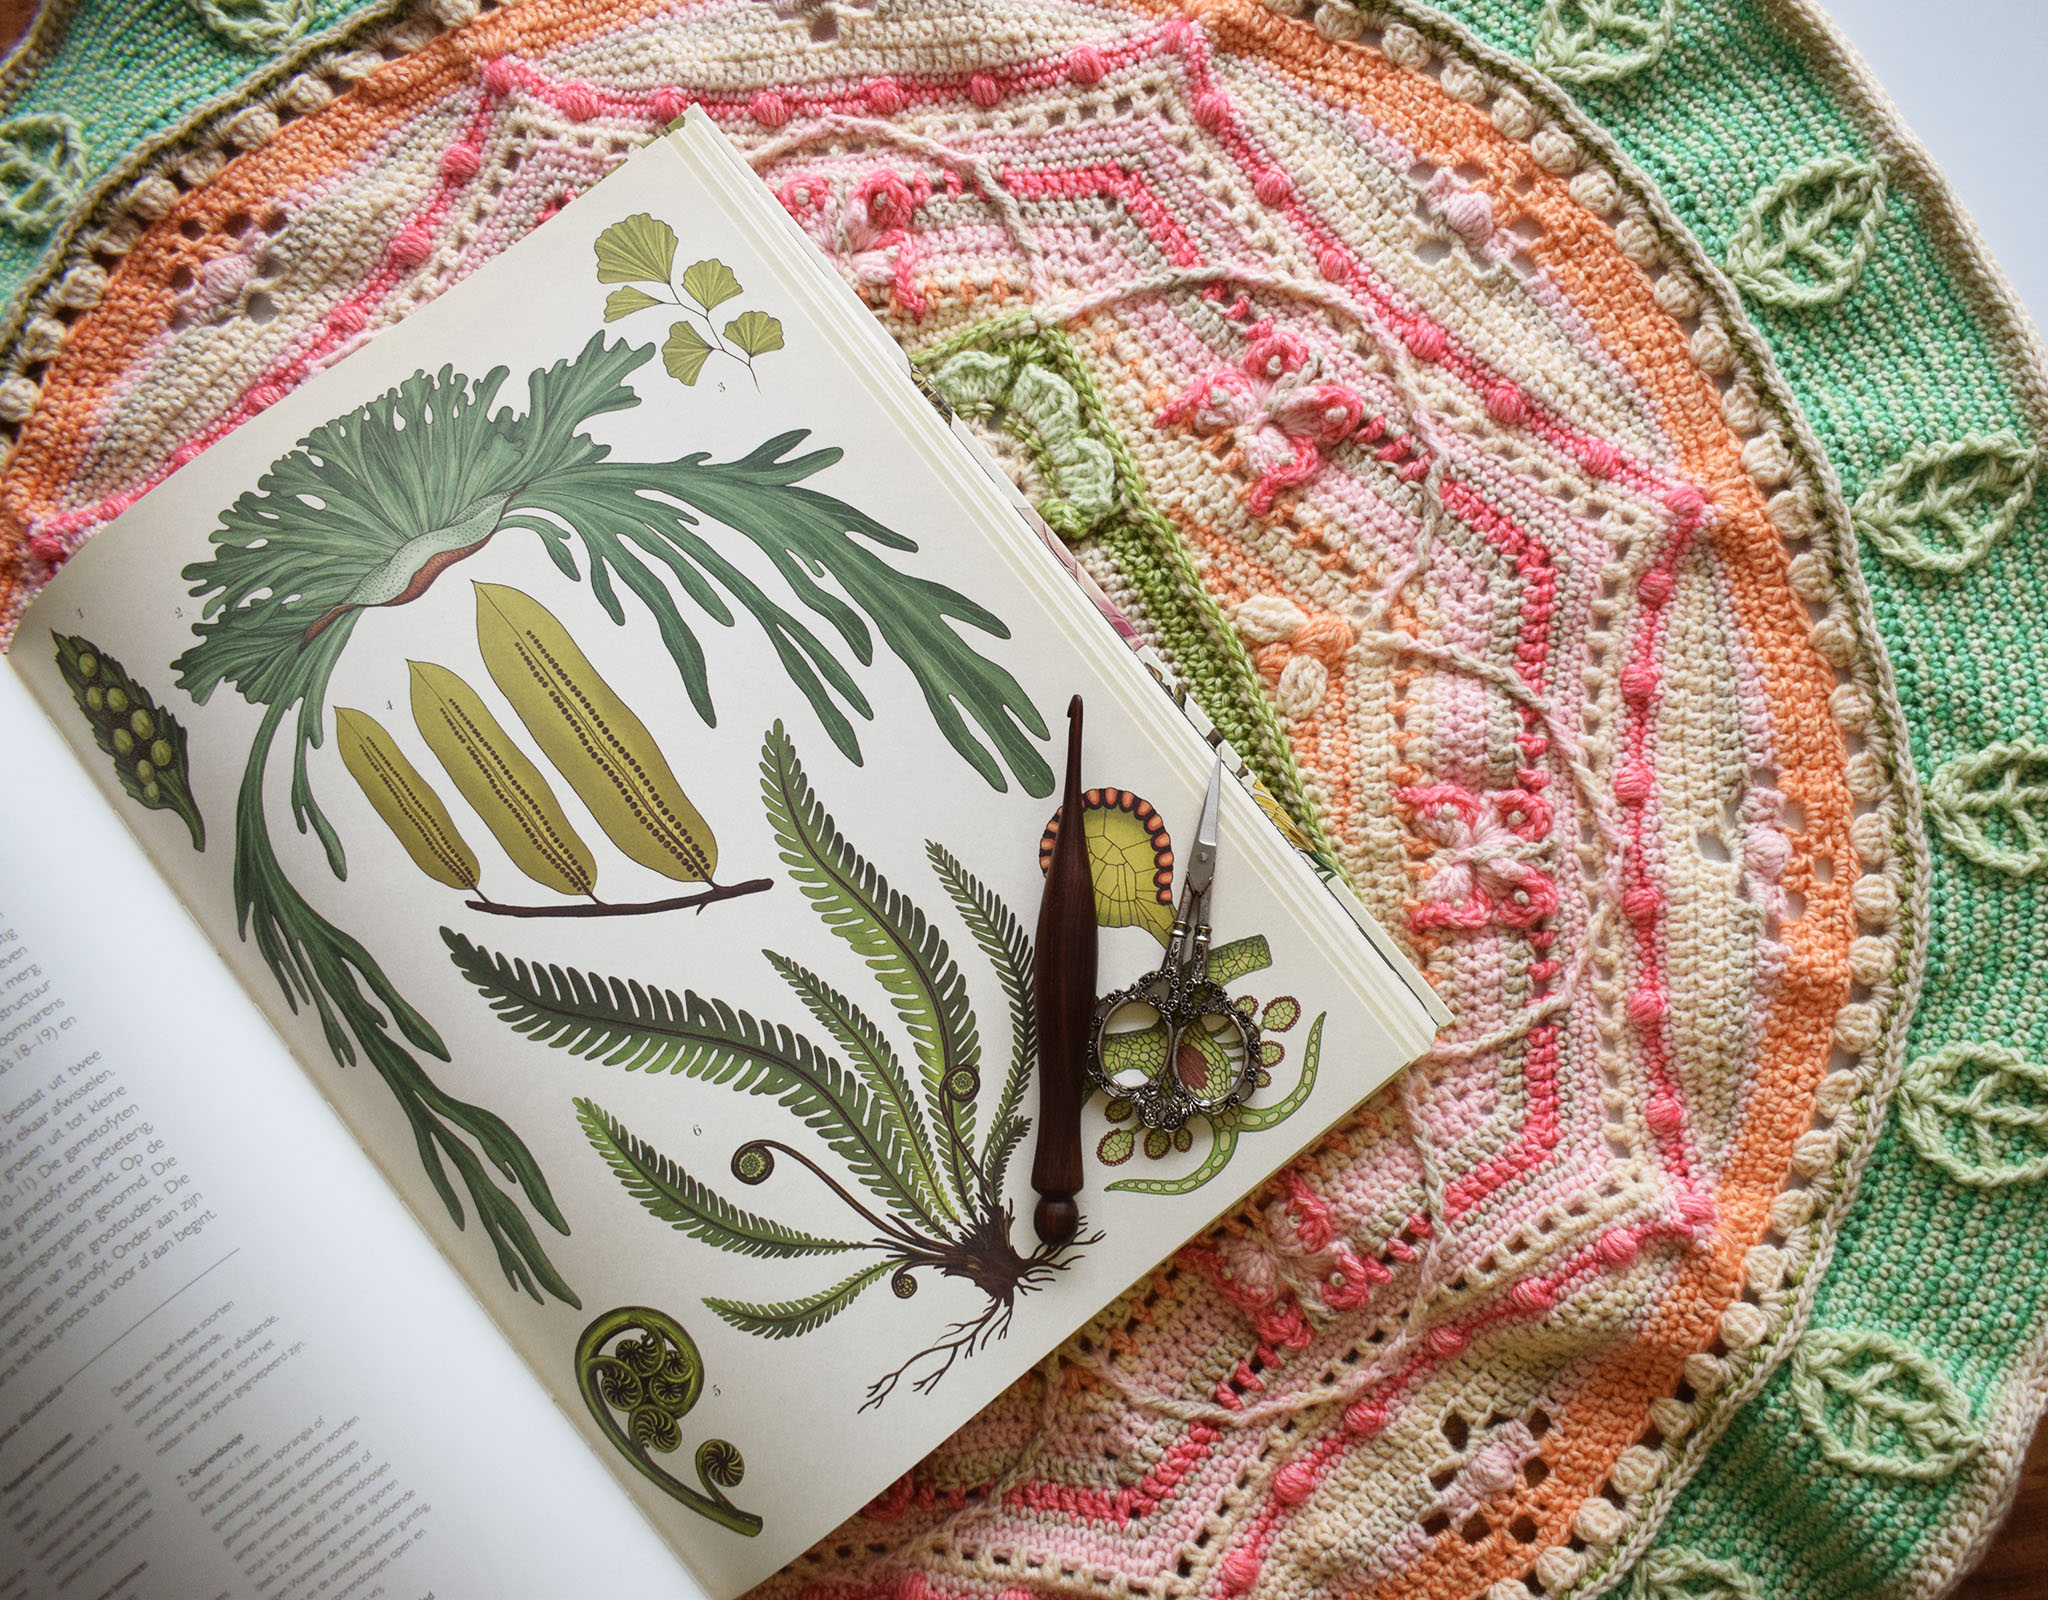
The Galerie de Botanique is situated in the Jardin des Plantes and contains the largest and oldest Herbarium in the world, with eight milion specimens. Envision beautiful scientific drawings of flowers and herbs, humid greenhouses full of exotic plants, of which Marie-Laure thought it smells like humus, wet newspaper and lobelia and rows and rows of cabinets full of ancient seed and plant specimens.
De Galerie de Botanique staat in de Jardin des Plantes en bevat het grootste en oudste Herbarium in de wereld, met acht miljoen exemplaren.
Stel je eens voor, prachtige wetenschappelijke illustraties van bloemen en kruiden, vochtige kassen vol met exotische planten, waarvan Marie-Laure vond dat het naar humus, natte krant en Lobelia ruikt, en rijen en rijen van kasten vol met eeuwenoude zaden en plantensoorten.
The Galerie / De Galerie


The Blanket / De Deken
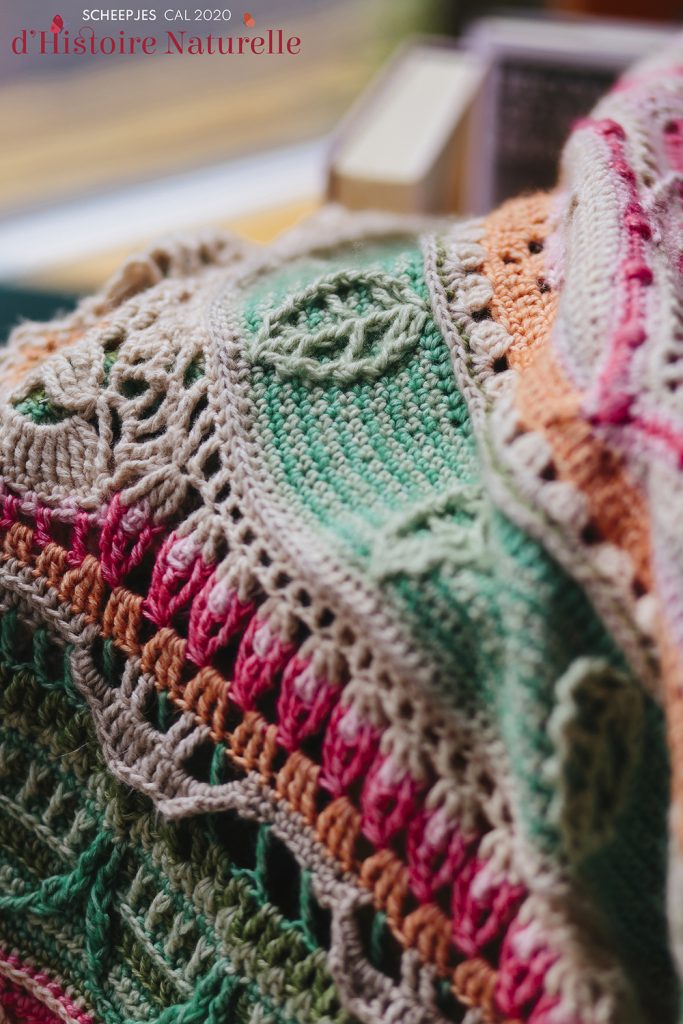
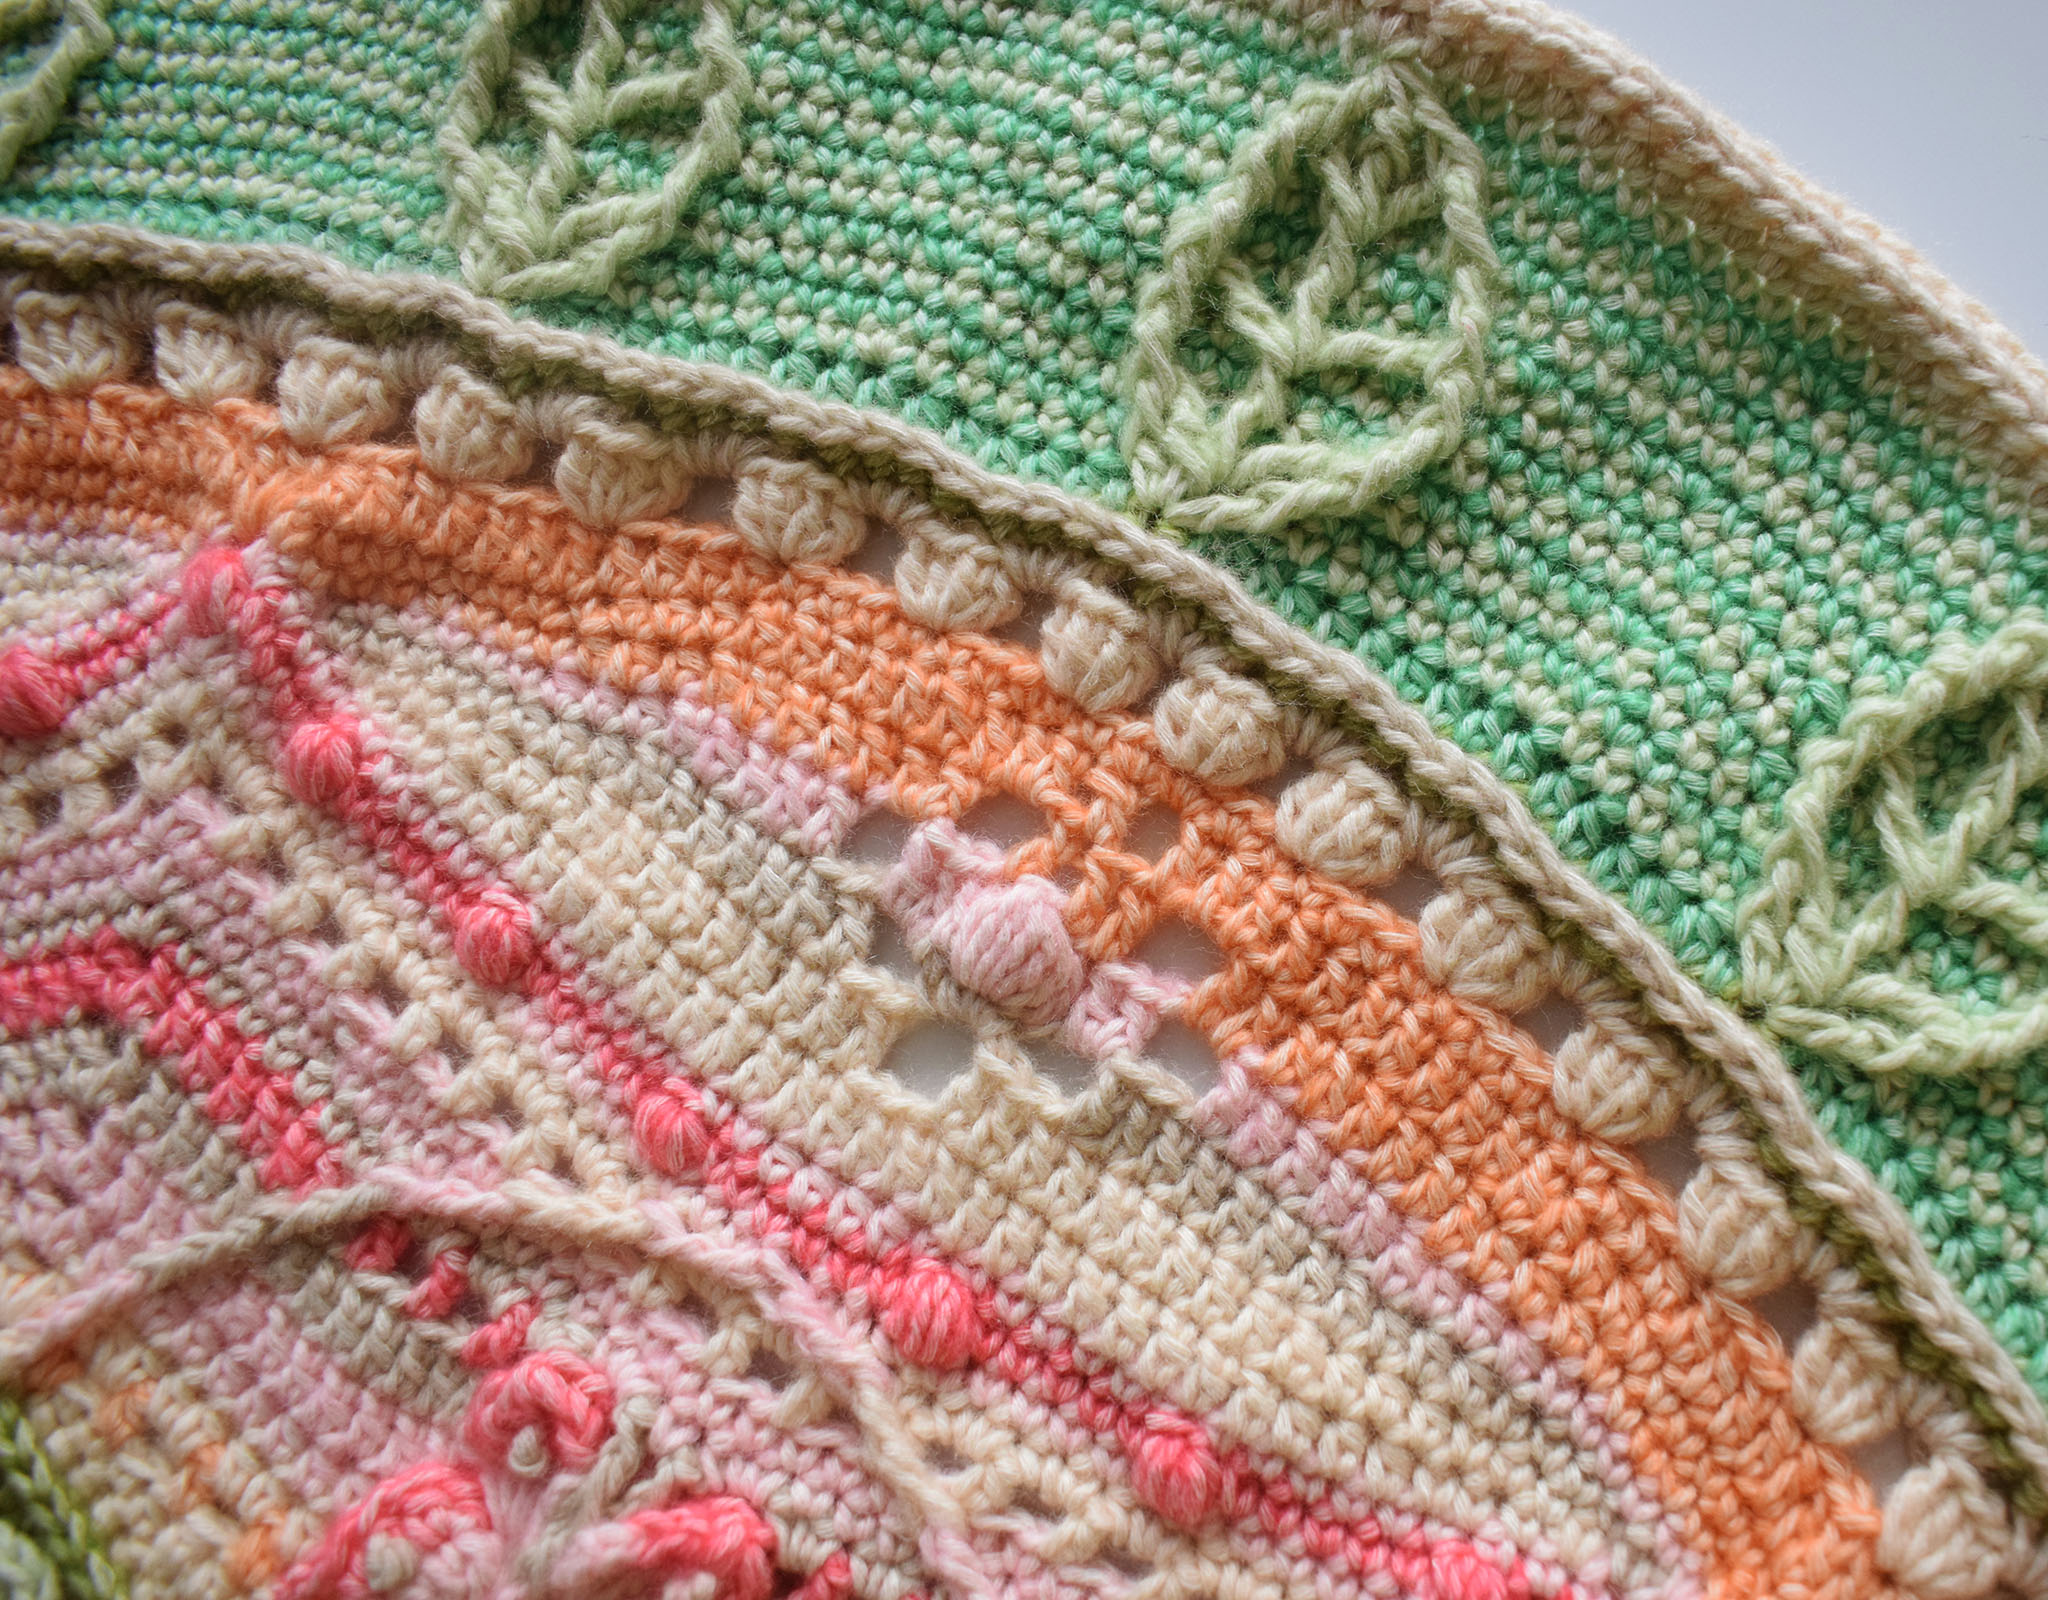
After the big octagonal shape, we will gradually turn it into a circle, which ends in a big border full of gorgeous leaves. The stitches are inspired by orchids and leaves shown on herbarium sheets or scientific drawings of flowers and plants.
De grote achthoek van deel 2 vormen we om naar een cirkel die eindigt met een grote rand vol met prachtige blaadjes. De steken zijn geïnspireerd op orchideën en blaadjes die je ziet op herbarium posters of wetenschappelijke tekeningen van bloemen en planten.
Shop the Yarn / Bestel het Garen
If you haven’t bought your kit yet and you don’t have a Scheepjes retailer nearby, please consider buying your Scheepjes yarn kit via one of the links below. It will give me a small commission, but it won’t cost you anything extra. That way I can keep making free patterns : )
Als je nog geen kit hebt gekocht en geen Scheepjes verkooppunt dichtbij hebt, overweeg dan je Scheepjes garen kit via één van onderstaande links te kopen. Hiervoor krijg ik een kleine commissie, terwijl het jou niks extra’s kost. Op die manier kan ik gratis patronen blijven maken : )
UK/International: The Knitting Network, Wool Warehouse or Black Sheep Wools
Benelux: Caro’s Atelier
List of all / Lijst van alle Scheepjes retailers: Scheepjes website
The Pattern / Het Patroon
You can find the pattern for this chapter on the Scheepjes Website or in the Scheepjes Facebook group. In the group you can also share your progress or ask questions. Me and the admin/mods of Scheepjes are there to assist you.
Esther from It’s All in a Nutshell has made a tutorial video, which you can find here. Below you can find a few tips and photos for some (but not all) of the rounds for the possibly tricky bits, which can help you in your journey. But please note it is not a substitute for the written pattern. While the written pattern is also available in US terms, the English terms below are UK terminology, as the original Scheepjes pattern terminology is also UK terms.
Happy crocheting : )
Je kunt het patroon voor dit hoofdstuk op de Scheepjes website vinden of in de Scheepjes Facebook groep. Daar kun je ook je voortgang delen of vragen stellen. Ik en de admin/mods van Scheepjes staan daar voor je klaar om je te helpen.
Esther van It’s All in a Nutshell heeft een tutorial video gemaakt die je hier kunt vinden. Hieronder vind je wat tips en foto’s voor sommige (niet alle) rondes die misschien wat lastiger zijn, om je te helpen in dit haakavontuur. Maar let op dat dit geen vervanging is voor het geschreven patroon.
Veel haakplezier : )
R39
1-2: Start in 7th st after corner-sp, first st is hidden.
Start in 7de stk na hoek-ruimte, eerste stk is verstopt.
3: Overview of sk corner. / Overzicht van overgeslagen hoek.
4: R39 done. / R39 klaar.

R40
1-2: Start of round, working in R38 and over ch10 of R39. / Start van ronde, werk in R38, en over de 10l van R39.
3-4: First st to work in after R39. / Eerste stk waar je in werkt na R39.
5: R40 done. / R40 klaar.

R41
1-2: Start R41.
3: Hidden st after ch-sp. / Verstopte stk na l-ruimte.
4: R41 done. / R41 klaar.

R42
1-2: Start R42.
3-4: Working the 6tr-bobble and spotting the hidden st after it. / De 6st-bobbel en de verstopte stk erna.
5: R42 done. / R42 klaar.

R43
Please note pics 2 and 4 show trebbles worked next to and in the 6tr-bobble, but this should be dc (UK terms).
Let op: foto’s 2 en 4 laten stokjes zien naast en in de bobbel, maar dit moeten vasten zijn.
1: Start R43.
2: Arrow indicates ch1 of 6tr-bobble. / Pijl geeft 1l van 6st-bobbel aan.
3: Arrow indicates the st to work in after the next corner. / Pijl geeft stk aan waar je in moet werken na de hoek.
4: R43 done. / R43 klaar.

R44
1: Start R44.
2: R44 done. / R44 klaar.

R45
1: Start R45.
2-3: Working in the corner spaces. / In de hoek ruimtes haken.
4: Hidden st after corner space. / Verstopte stk na hoek ruimte.
5: R45 done. / R45 klaar.

R46
1: Start R46.
2: R46 done. / R46 klaar.

R47

R48
1: Start R48.
2: R48 done. / R48 klaar.

Please note the leaves will lean to one side a bit when you’re done. But this is intentional, so don’t worry about it : ) / Waarschijnlijk zie je als je klaar bent dat de blaadjes een beetje een kant op leunen, maar die hoort zo, dus maak je geen zorgen : )
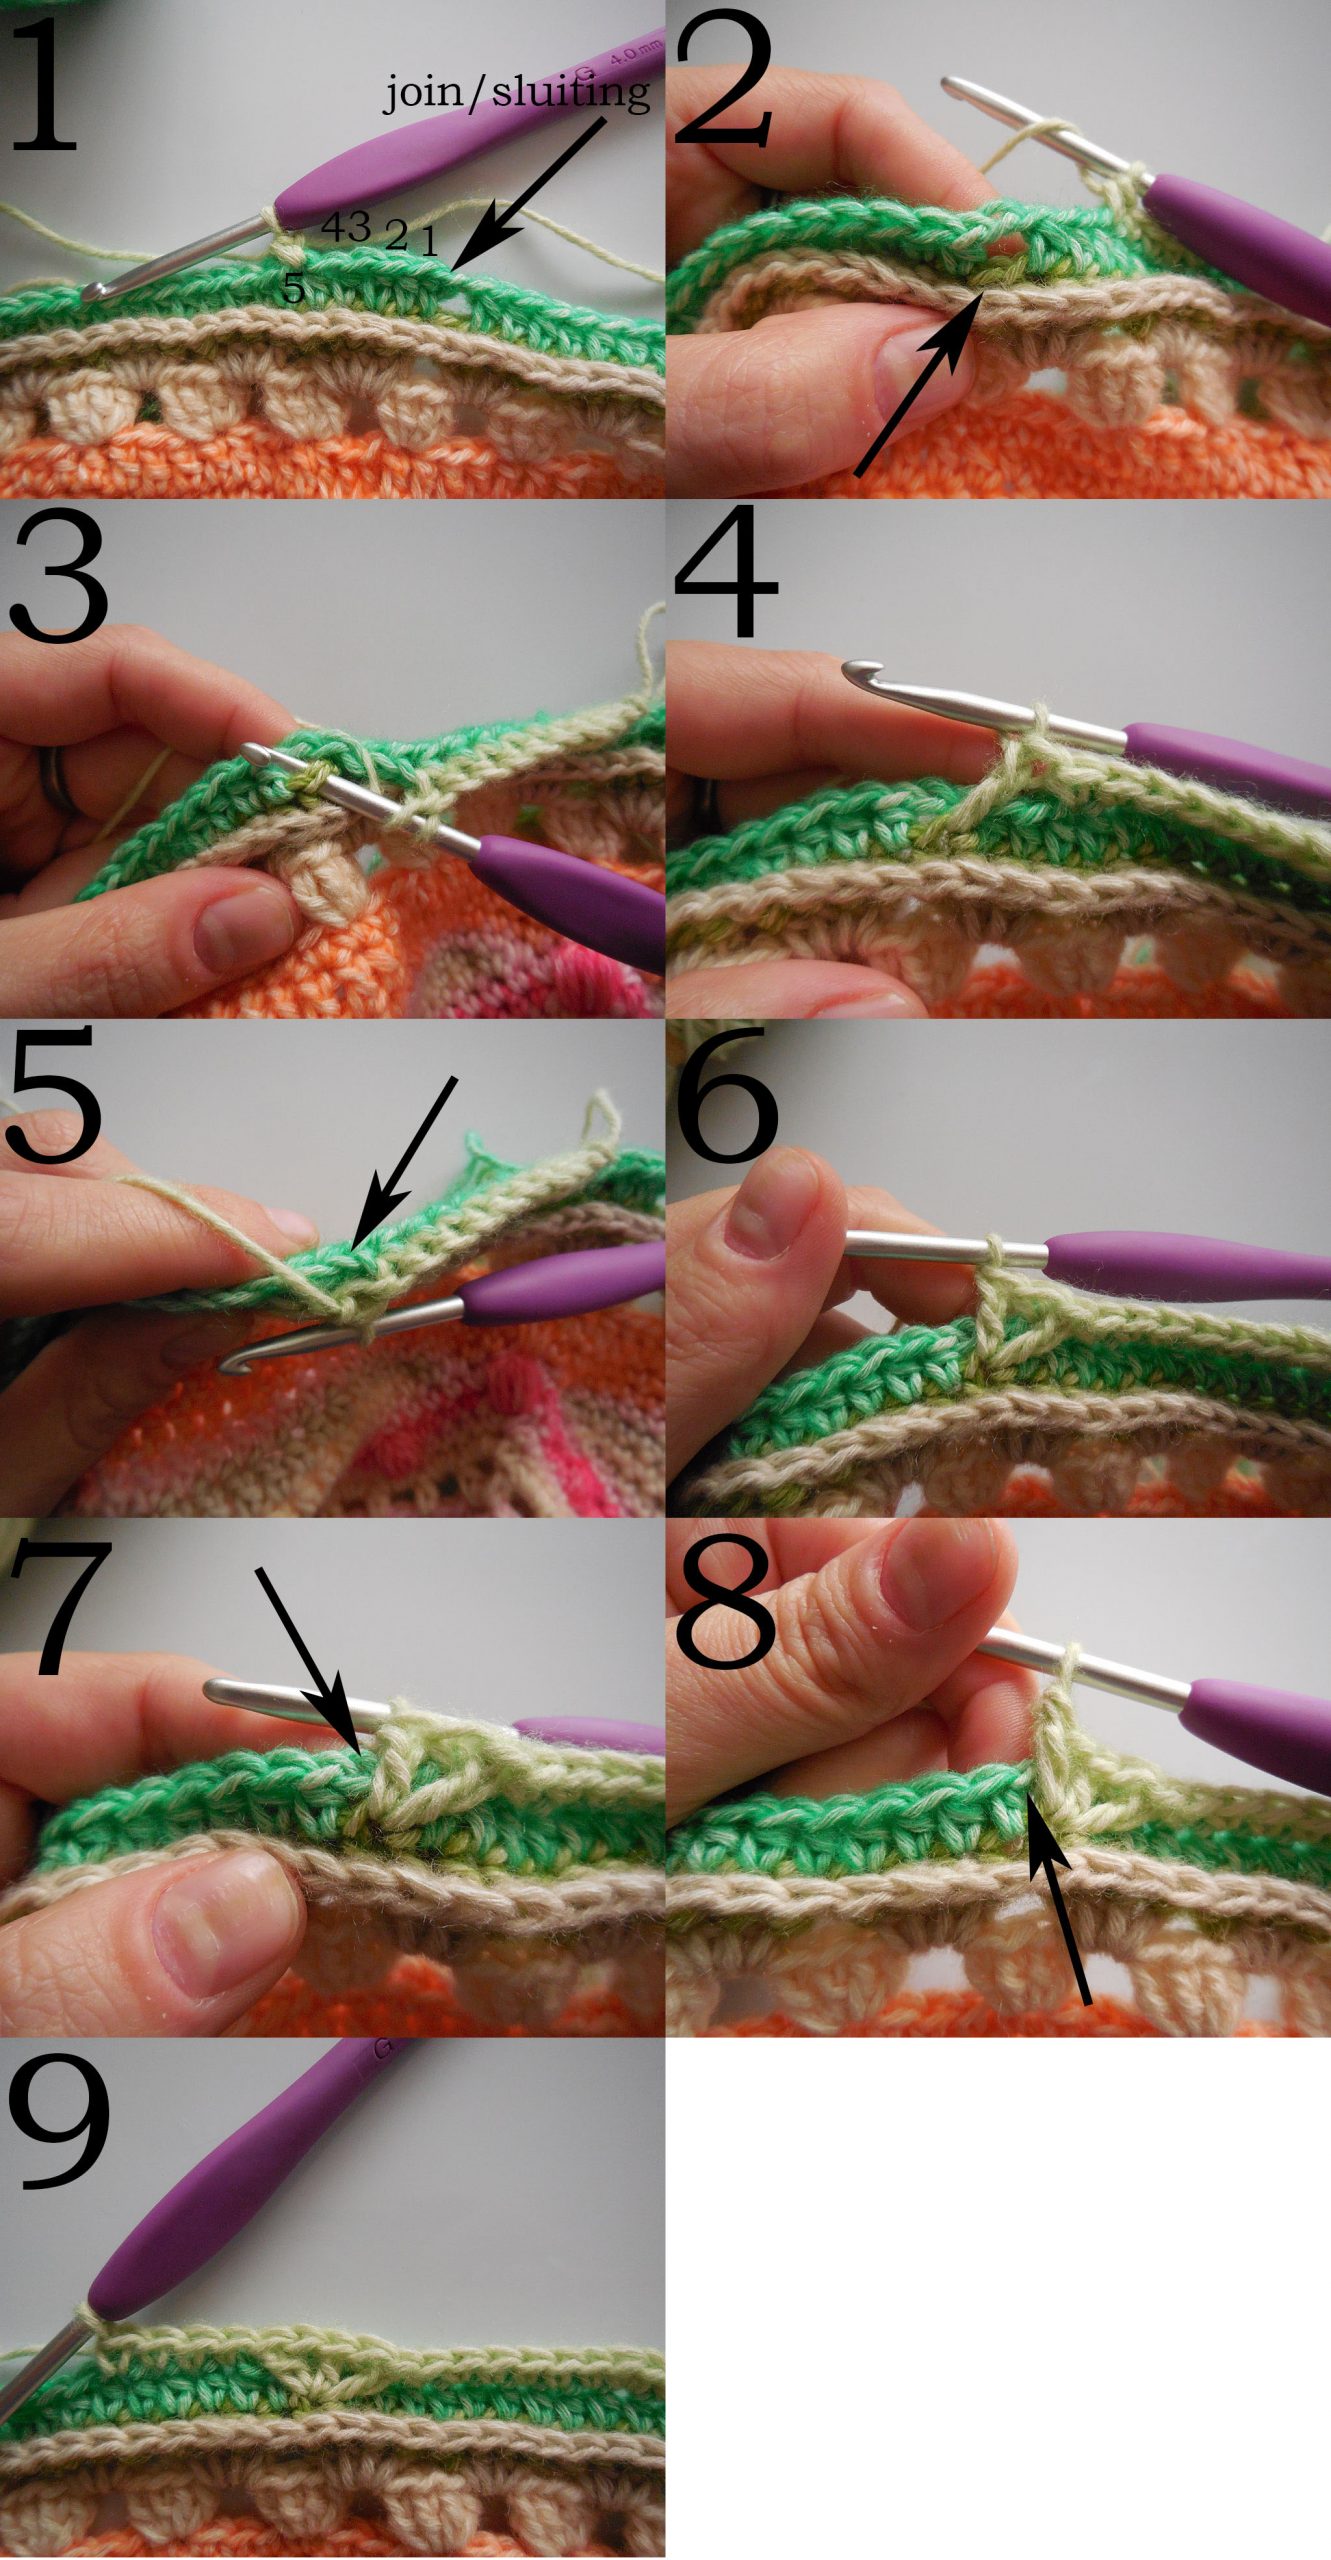
R50
1: Start R50.
2-4: Tr in skipped st. / St in overgeslagen stk.
5: Sk st of R49. / Stk van R49 oversl.
6: Tr in same skipped st. / St in dezelfde overgeslagen stk.
7: Sk st of R49. / Stk van R49 oversl.
8: Hidden st after last tr. / Verstopte stk na laatste st.
9: First start of leaf done. / Eerste begin van blaadje klaar.
R52
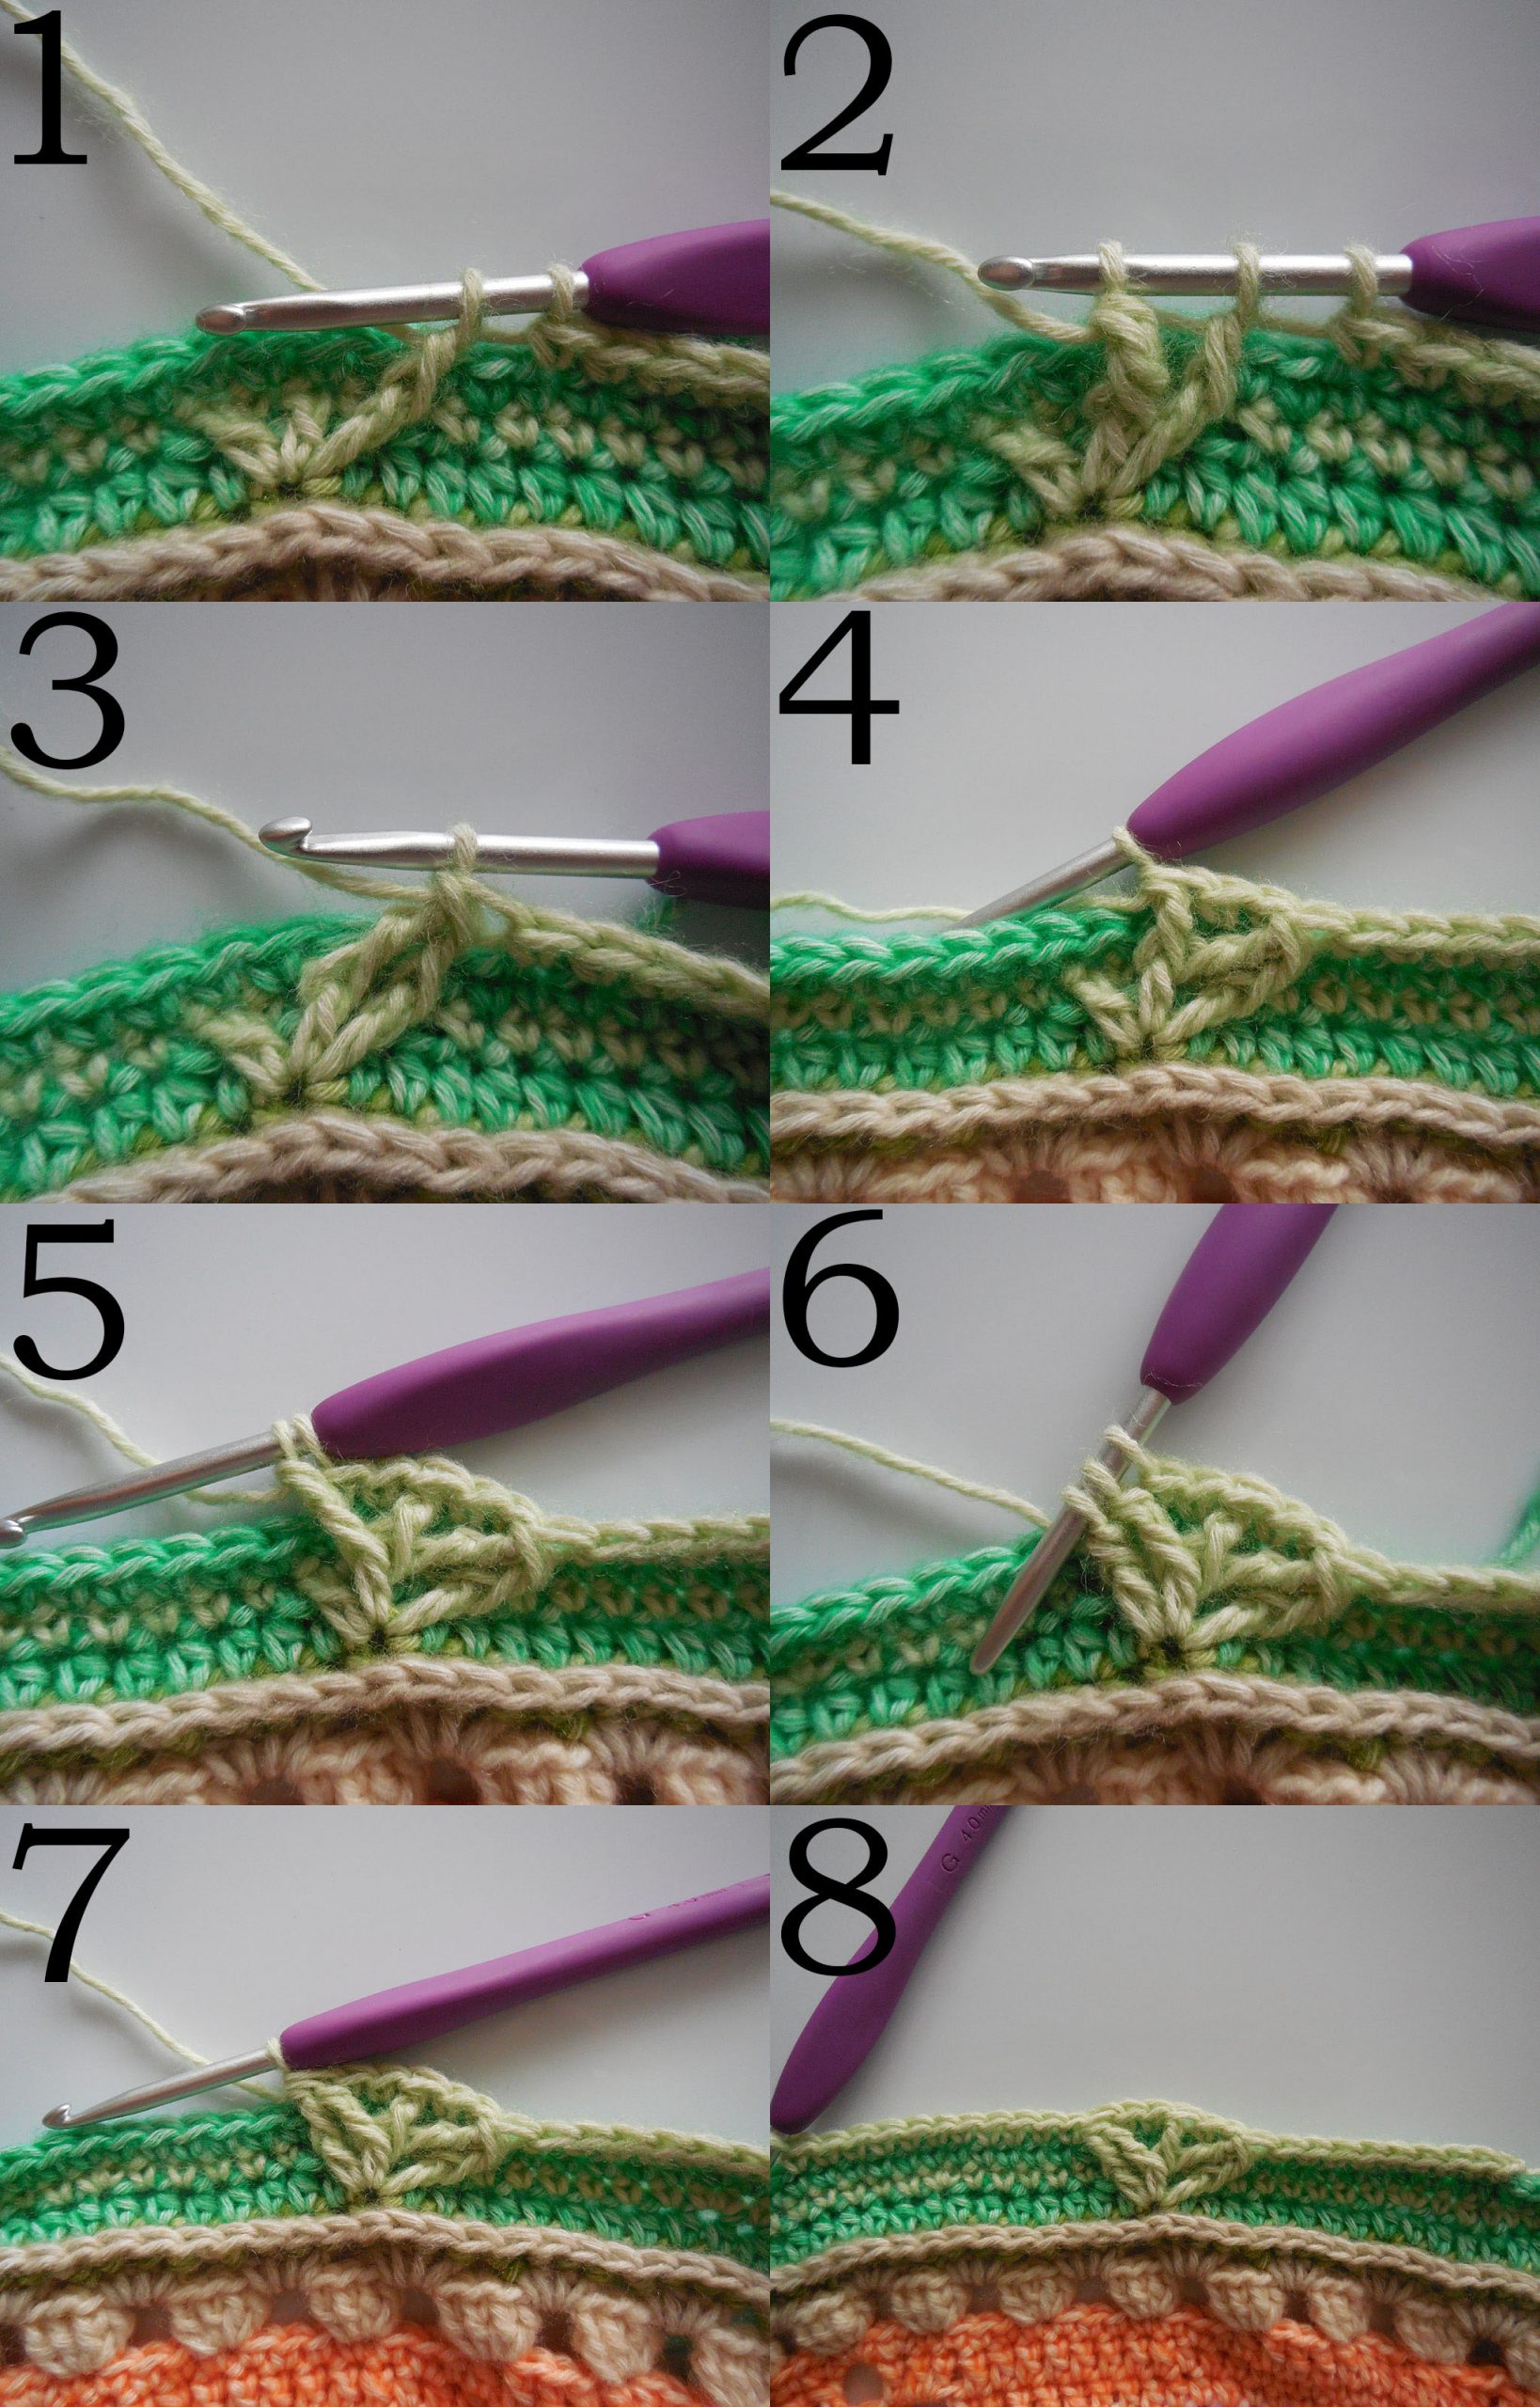
1-3: Fptr-dtrtog. / Rst-dstVsam.
4: Fptr around middle st. / RstV om middelste stk.
5-7: Second fptr-dtrtog. / Tweede Rst-dstVsam.
8: Pattern repeat done. / Patroonherhaling klaar.
R54
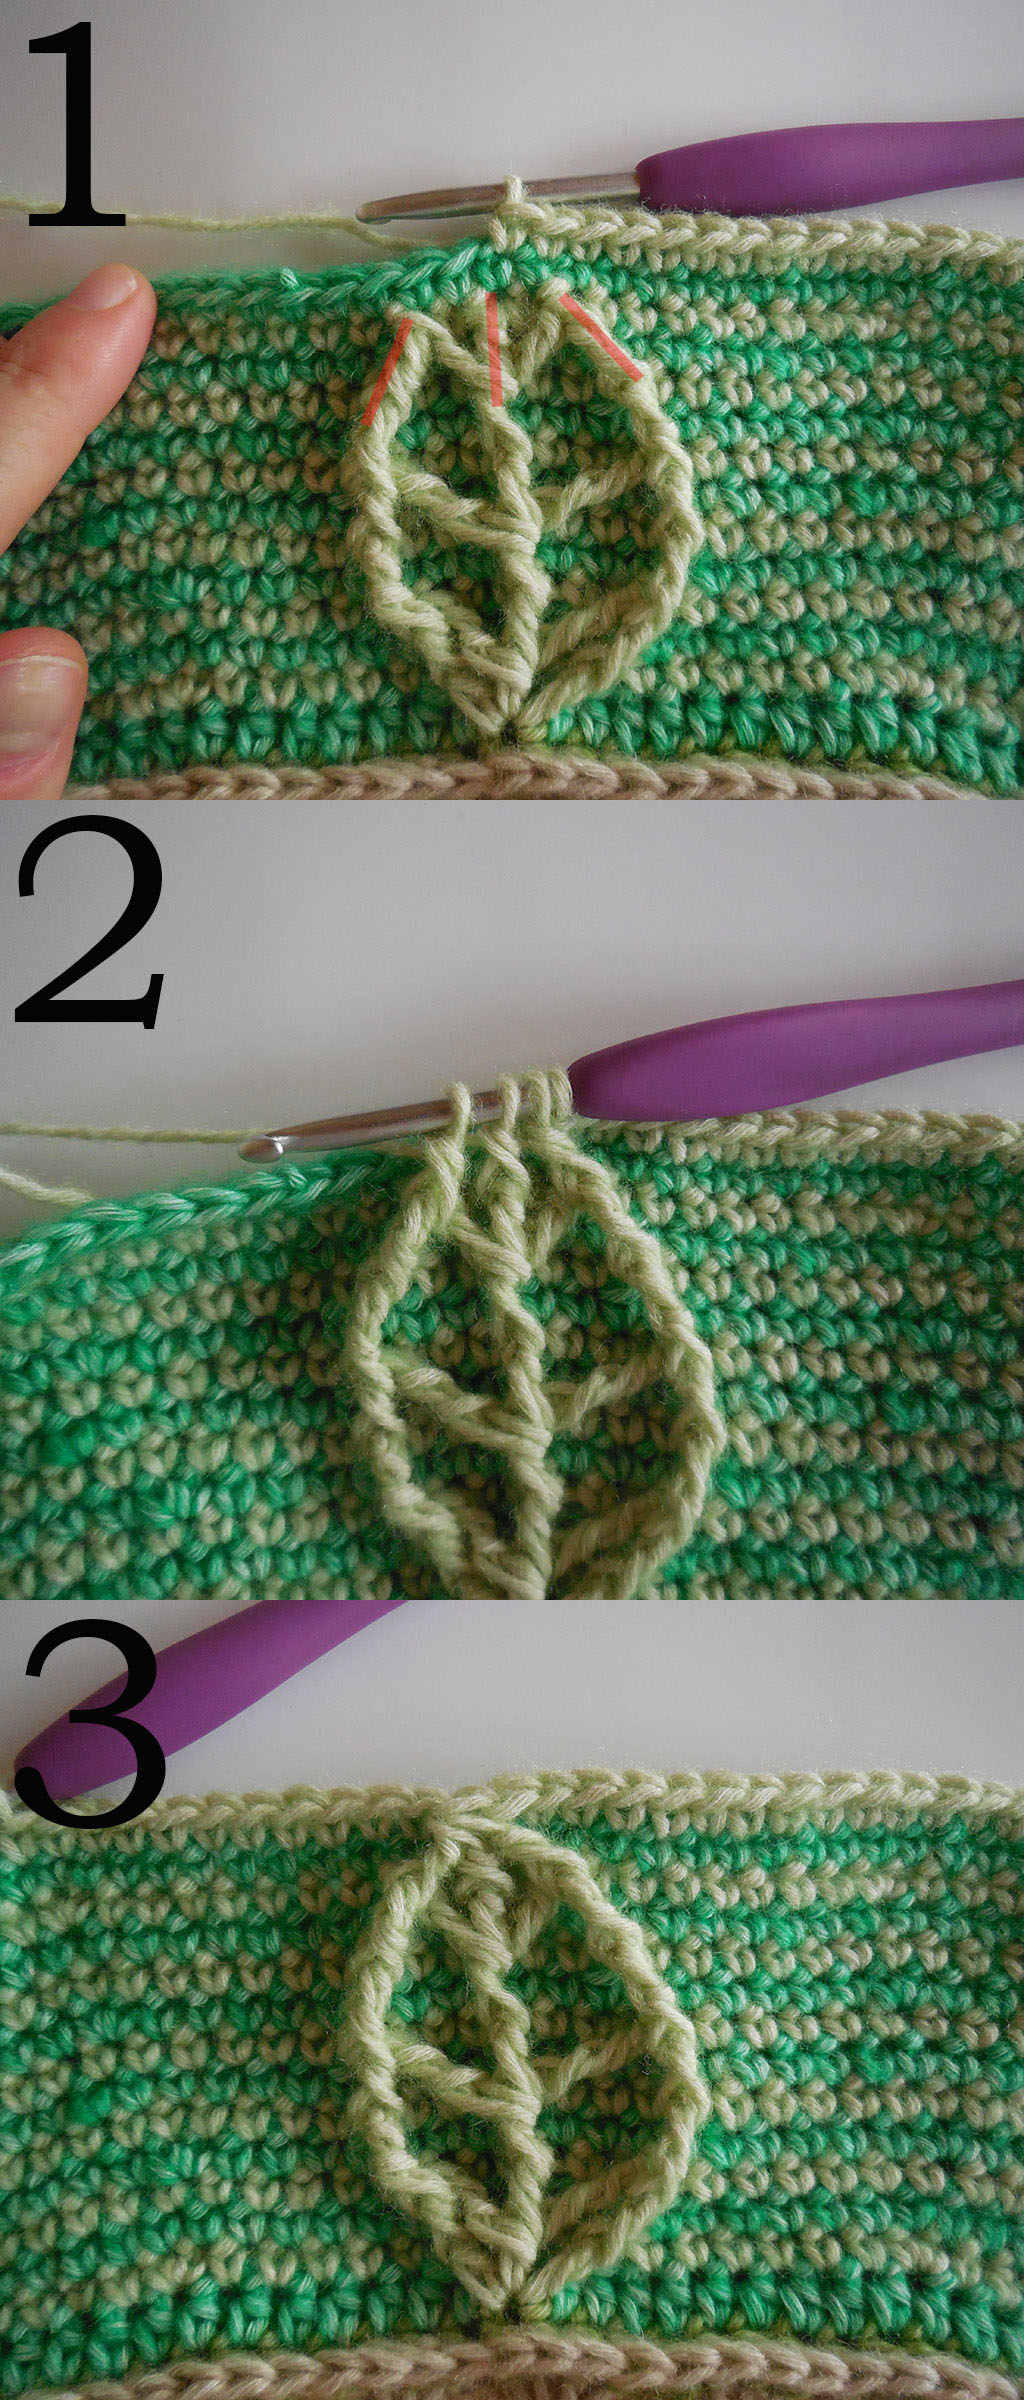
1: Red line indicates the outer st to work around. / Rode lijn geeft de buitenste stk aan waar je omheen moet werken.
2: Red line indicates the outer st to work around. / Rode lijn geeft de buitenste stk aan waar je omheen moet werken.
3: Pattern repeat done. / Patroonherhaling klaar.

R56
1-3: Working the sts of the leaf. / De steken van het blaadje haken.

R58
1: Crocheting around the outer st of the Fptr-dtrtog. / Haken om de buitenste stk van het Rst-dstVsam.
2: Working around the middle st. / Haak rondom de middelste stk.
3: Pattern repeat done. / Patroonherhaling klaar.

R60
1: Working the fpdtr-trtog. / Het Rdst-stVsam haken.
2: Working around the middle st. / Haak rondom de middelste stk.
3: Pattern repeat done. / Patroonherhaling klaar.

R62
1-3: Working the fptr3tog. / Het R3stVsam haken.
After working R63&64, Chapter 3 will be finished! : D Please note the leaves lean to one side a bit. This is intentional, so don’t worry about it : )
Als je R63 en 64 ook hebt gehaakt, is Hoofdstuk 3 klaar! : D Waarschijnlijk zie je dat de blaadjes een beetje een kant op leunen, maar die hoort zo, dus maak je geen zorgen : )
I hope you enjoyed this part : ) If you want to share your progress, or if you need help with the pattern, go to the Scheepjes Facebook group.
Ik hoop dat je het leuk vond dit deel te haken : ) Als je je voortgang wilt delen of als je hulp nodig hebt met het patroon, ga dan naar de Scheepjes Facebook groep.
If you don’t want to miss any updates on the CAL, please be sure to follow the Scheepjes Facebook page and follow me on Facebook, Instagram (@aspoonfulofyarn) or subscribe via email at the bottom of this page.
Als je geen enkele update over de CAL wilt missen, volg dan de Scheepjes Facebook pagina en volg de A Spoonful of Yarn Facebook, of Instagram (@aspoonfulofyarn), of schrijf je in via email aan de onderkant van deze pagina.
*Affiliate disclaimer
This post contains affiliate links. When you click this link and purchase something, I will get a small commission, but it will not cost you extra money. This way you can support my blog and I can keep making free patterns.
Deze post bevat affiliate links. Als je op deze link klikt en iets koopt, krijg ik een kleine commissie. Op deze manier kan je mijn blog steunen, terwijl het jouw niks extra’s kost. Hierdoor kan ik doorgaan met het maken van gratis patronen.
